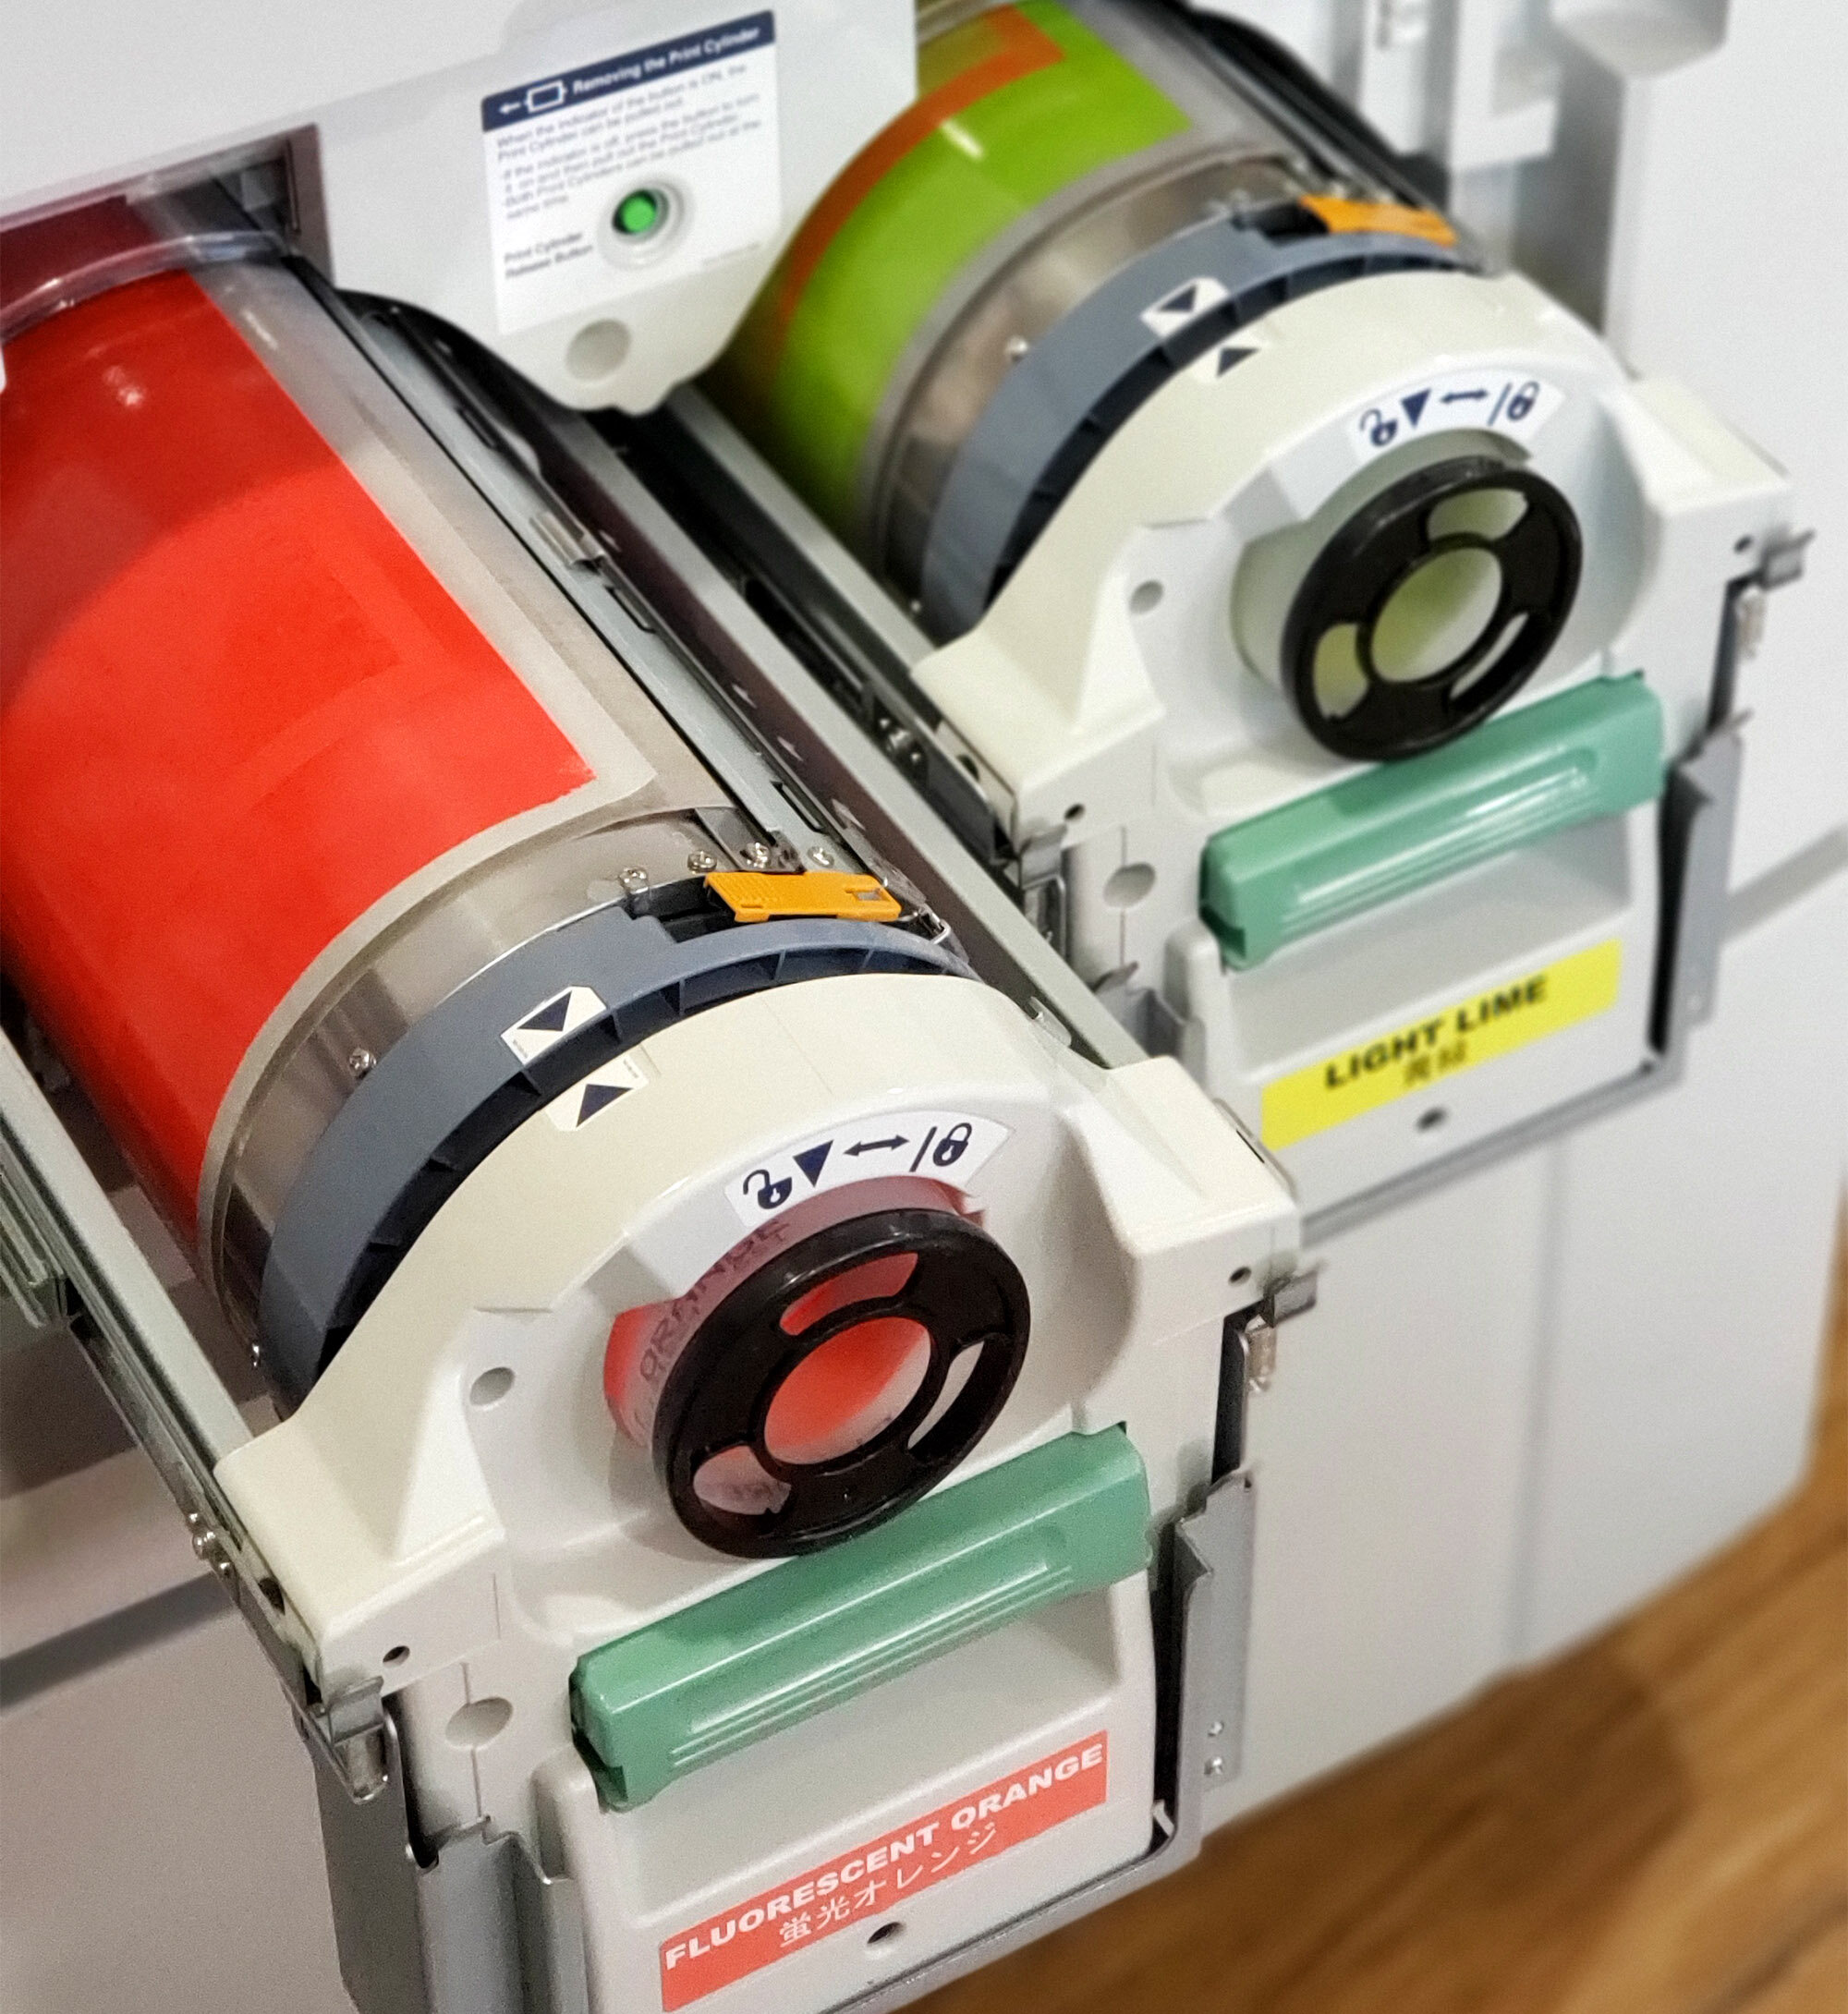
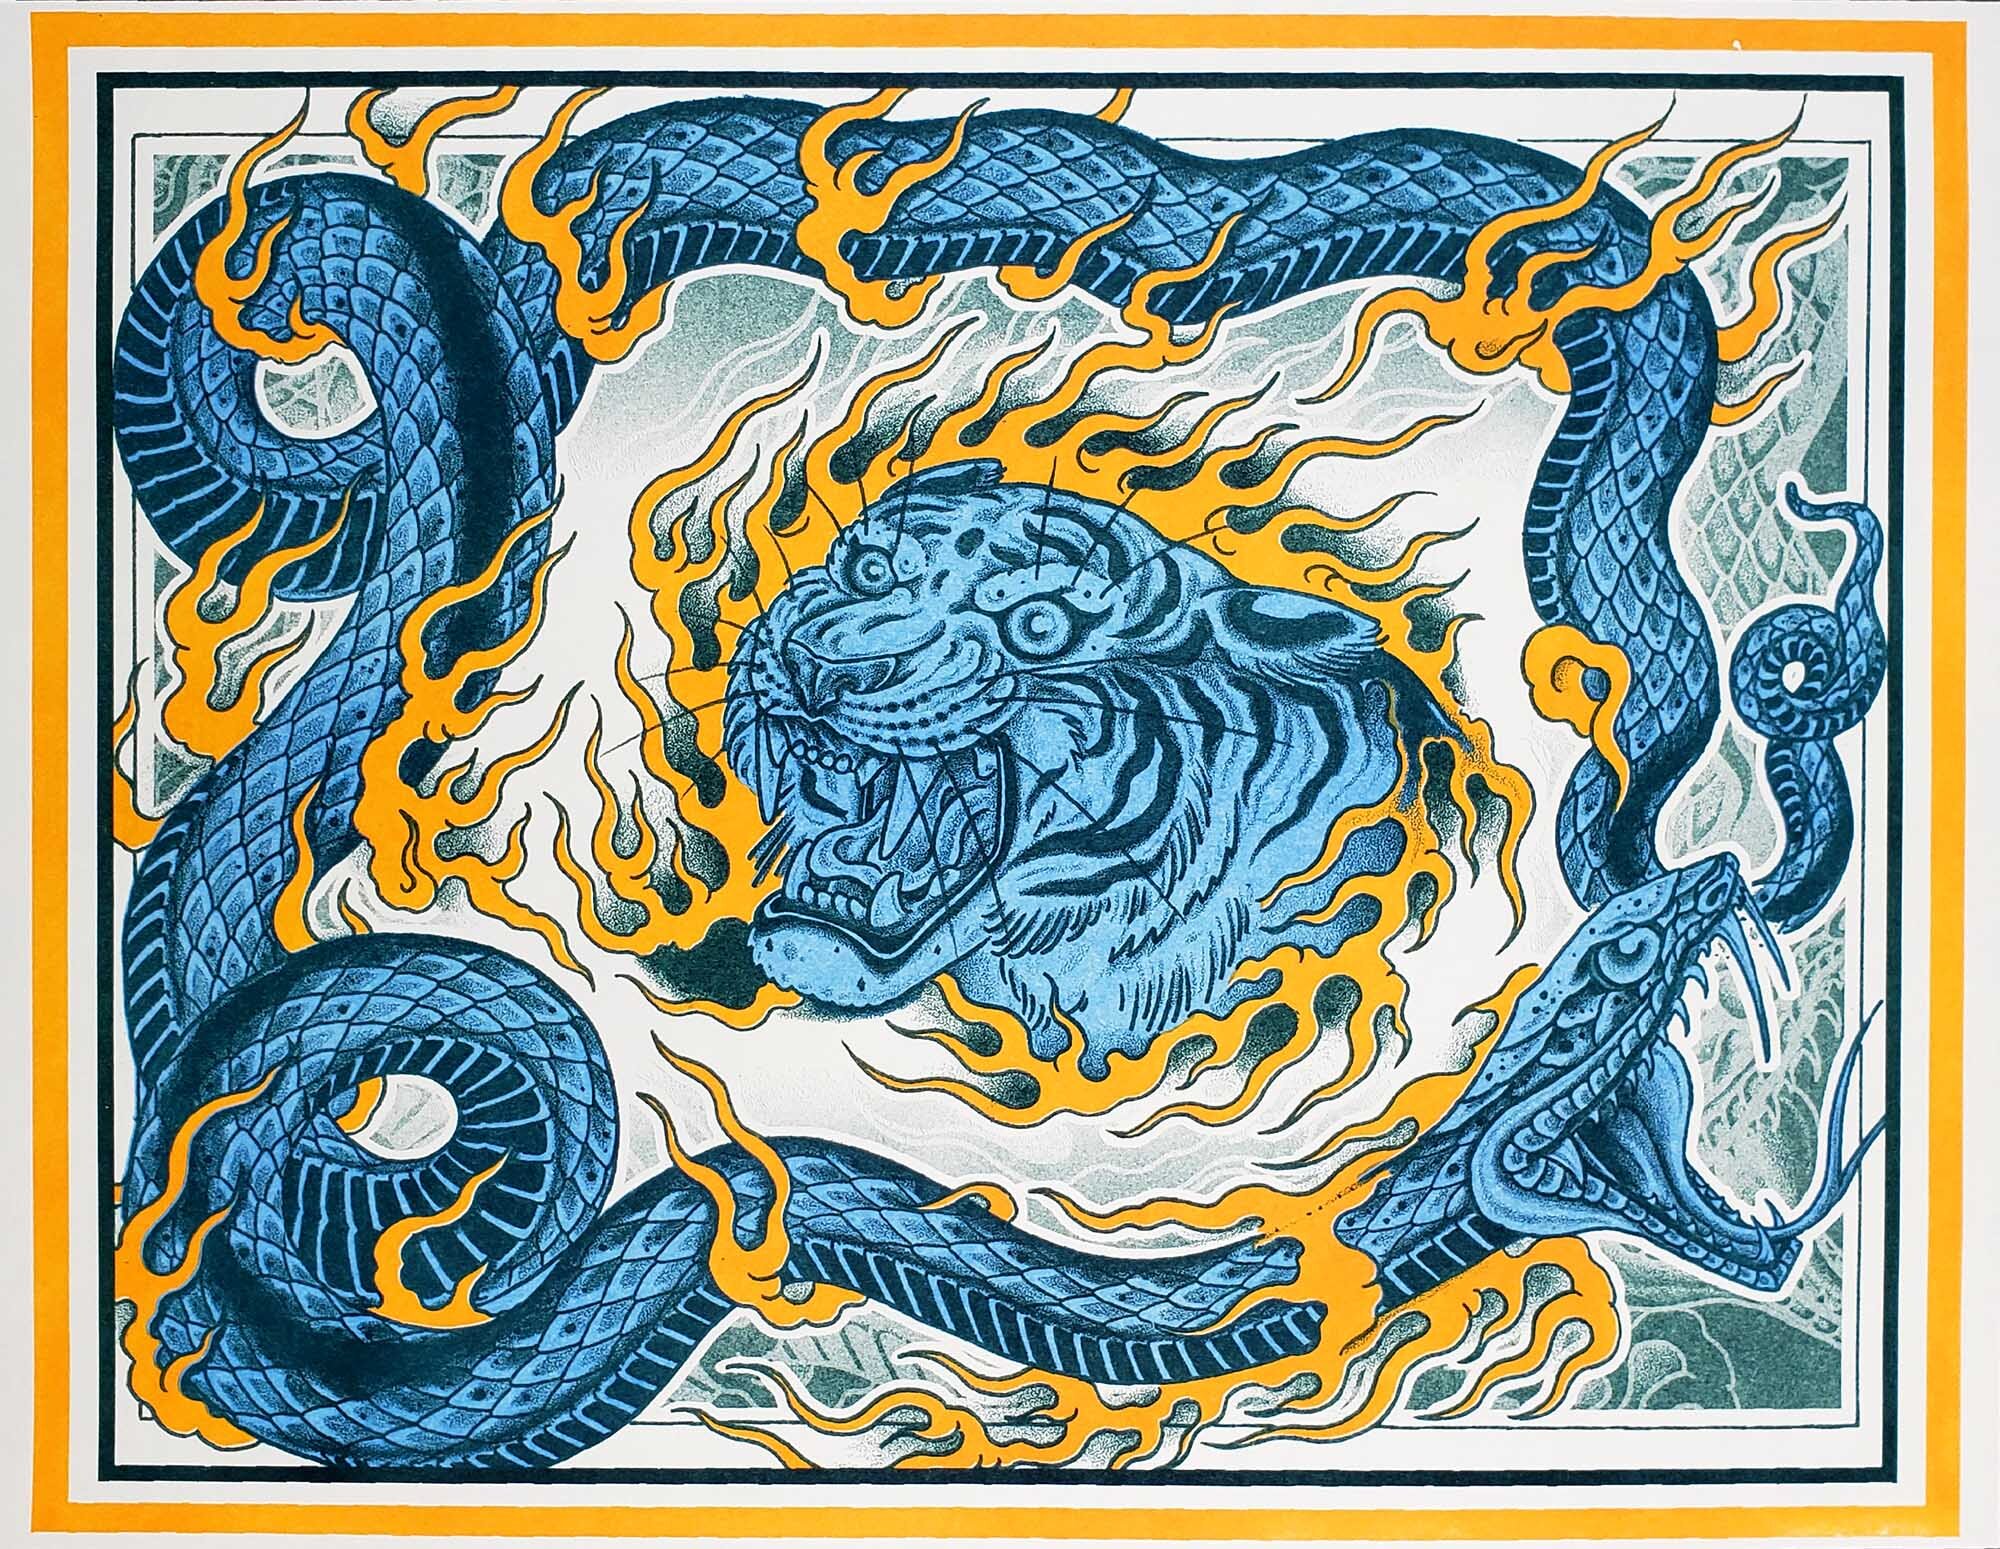
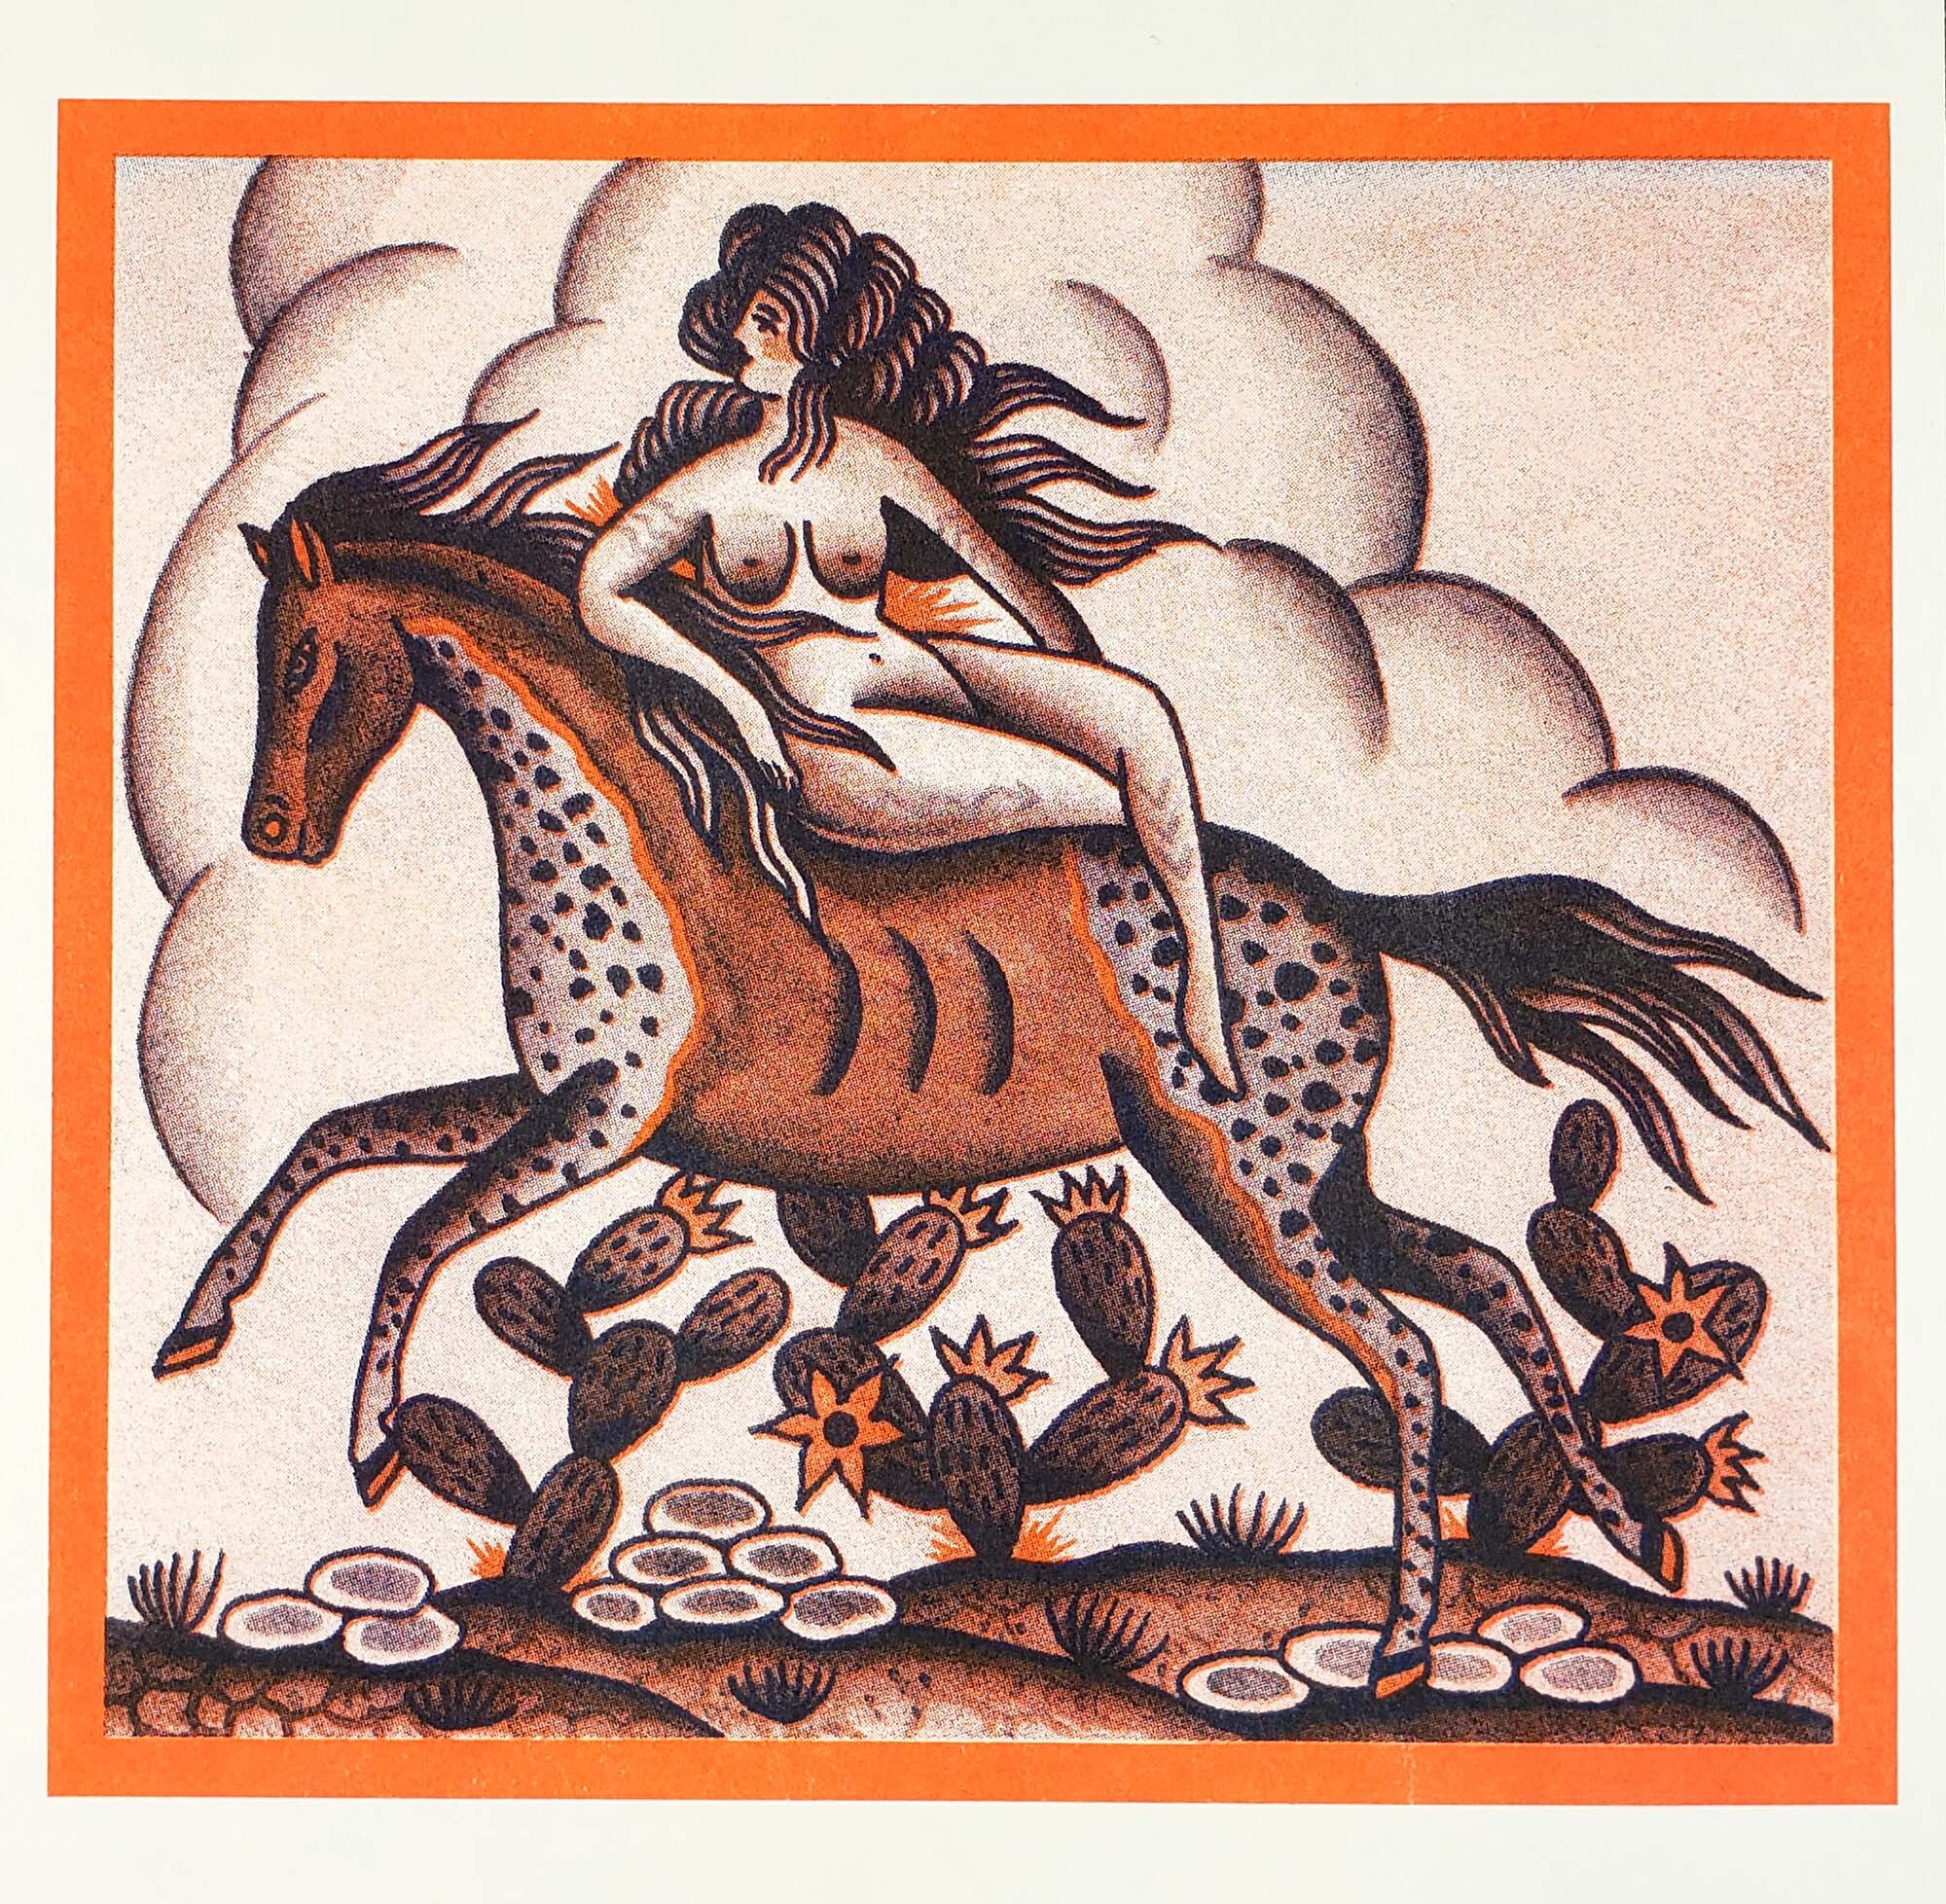
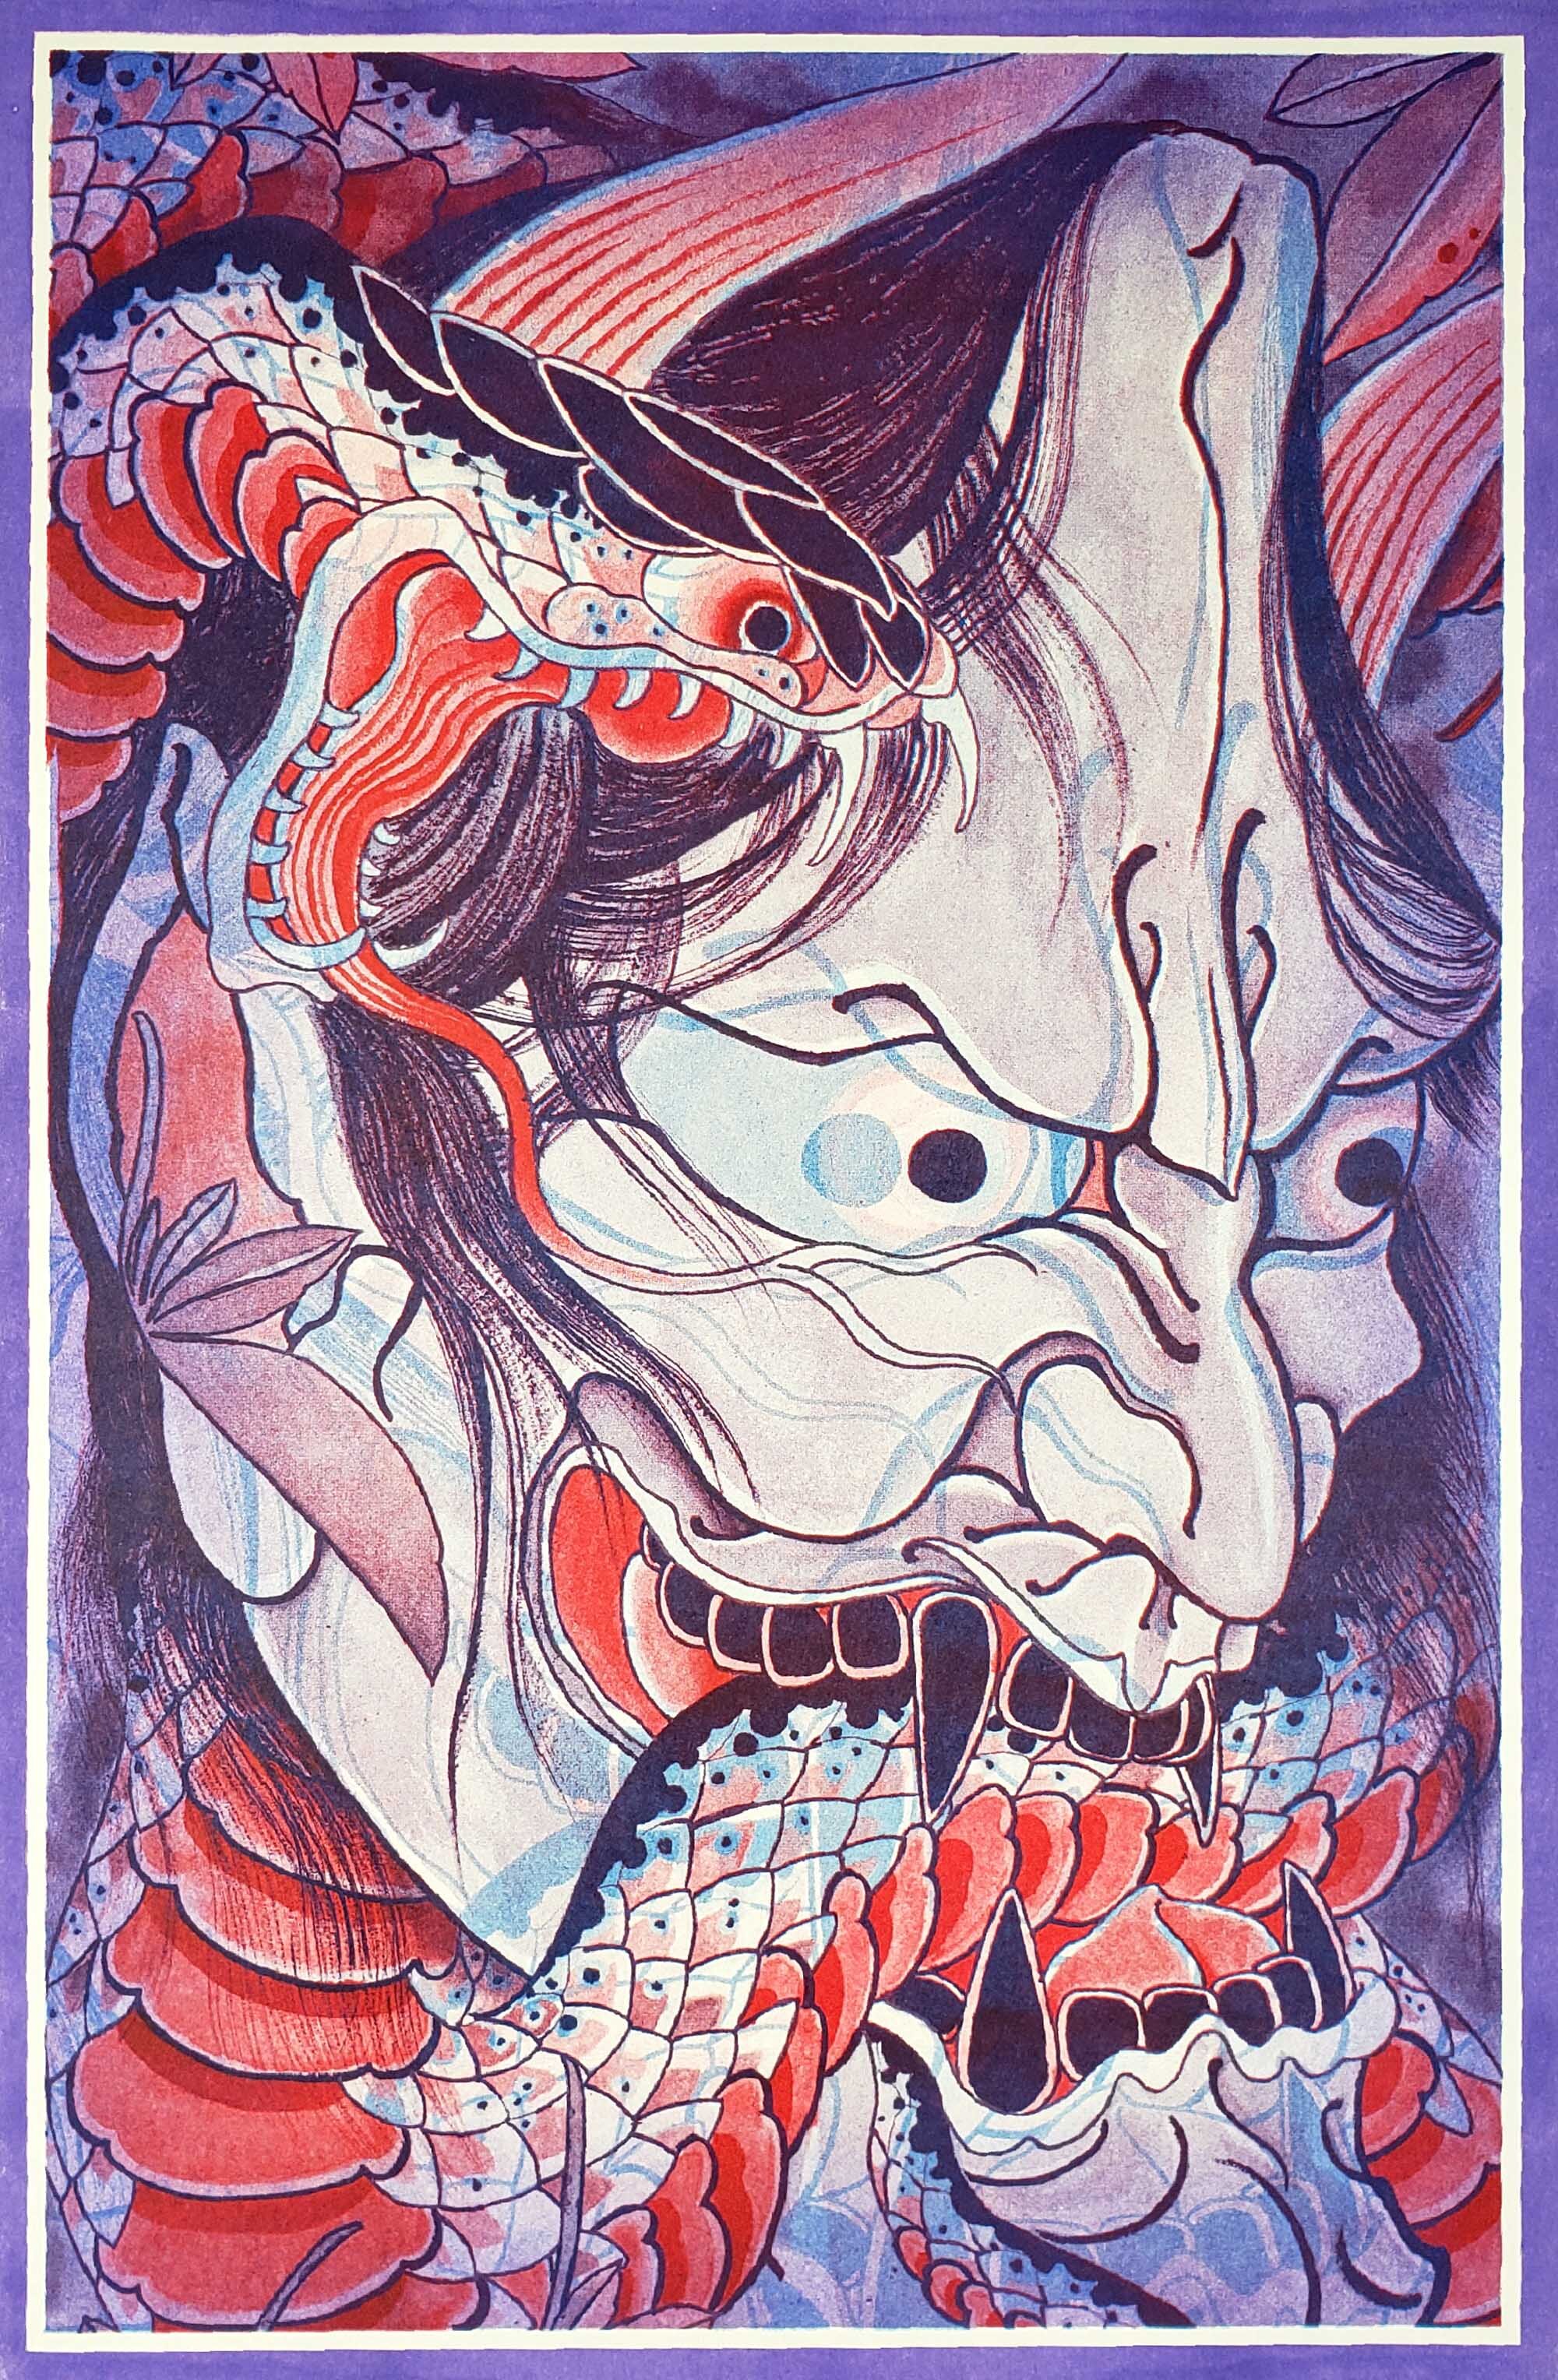
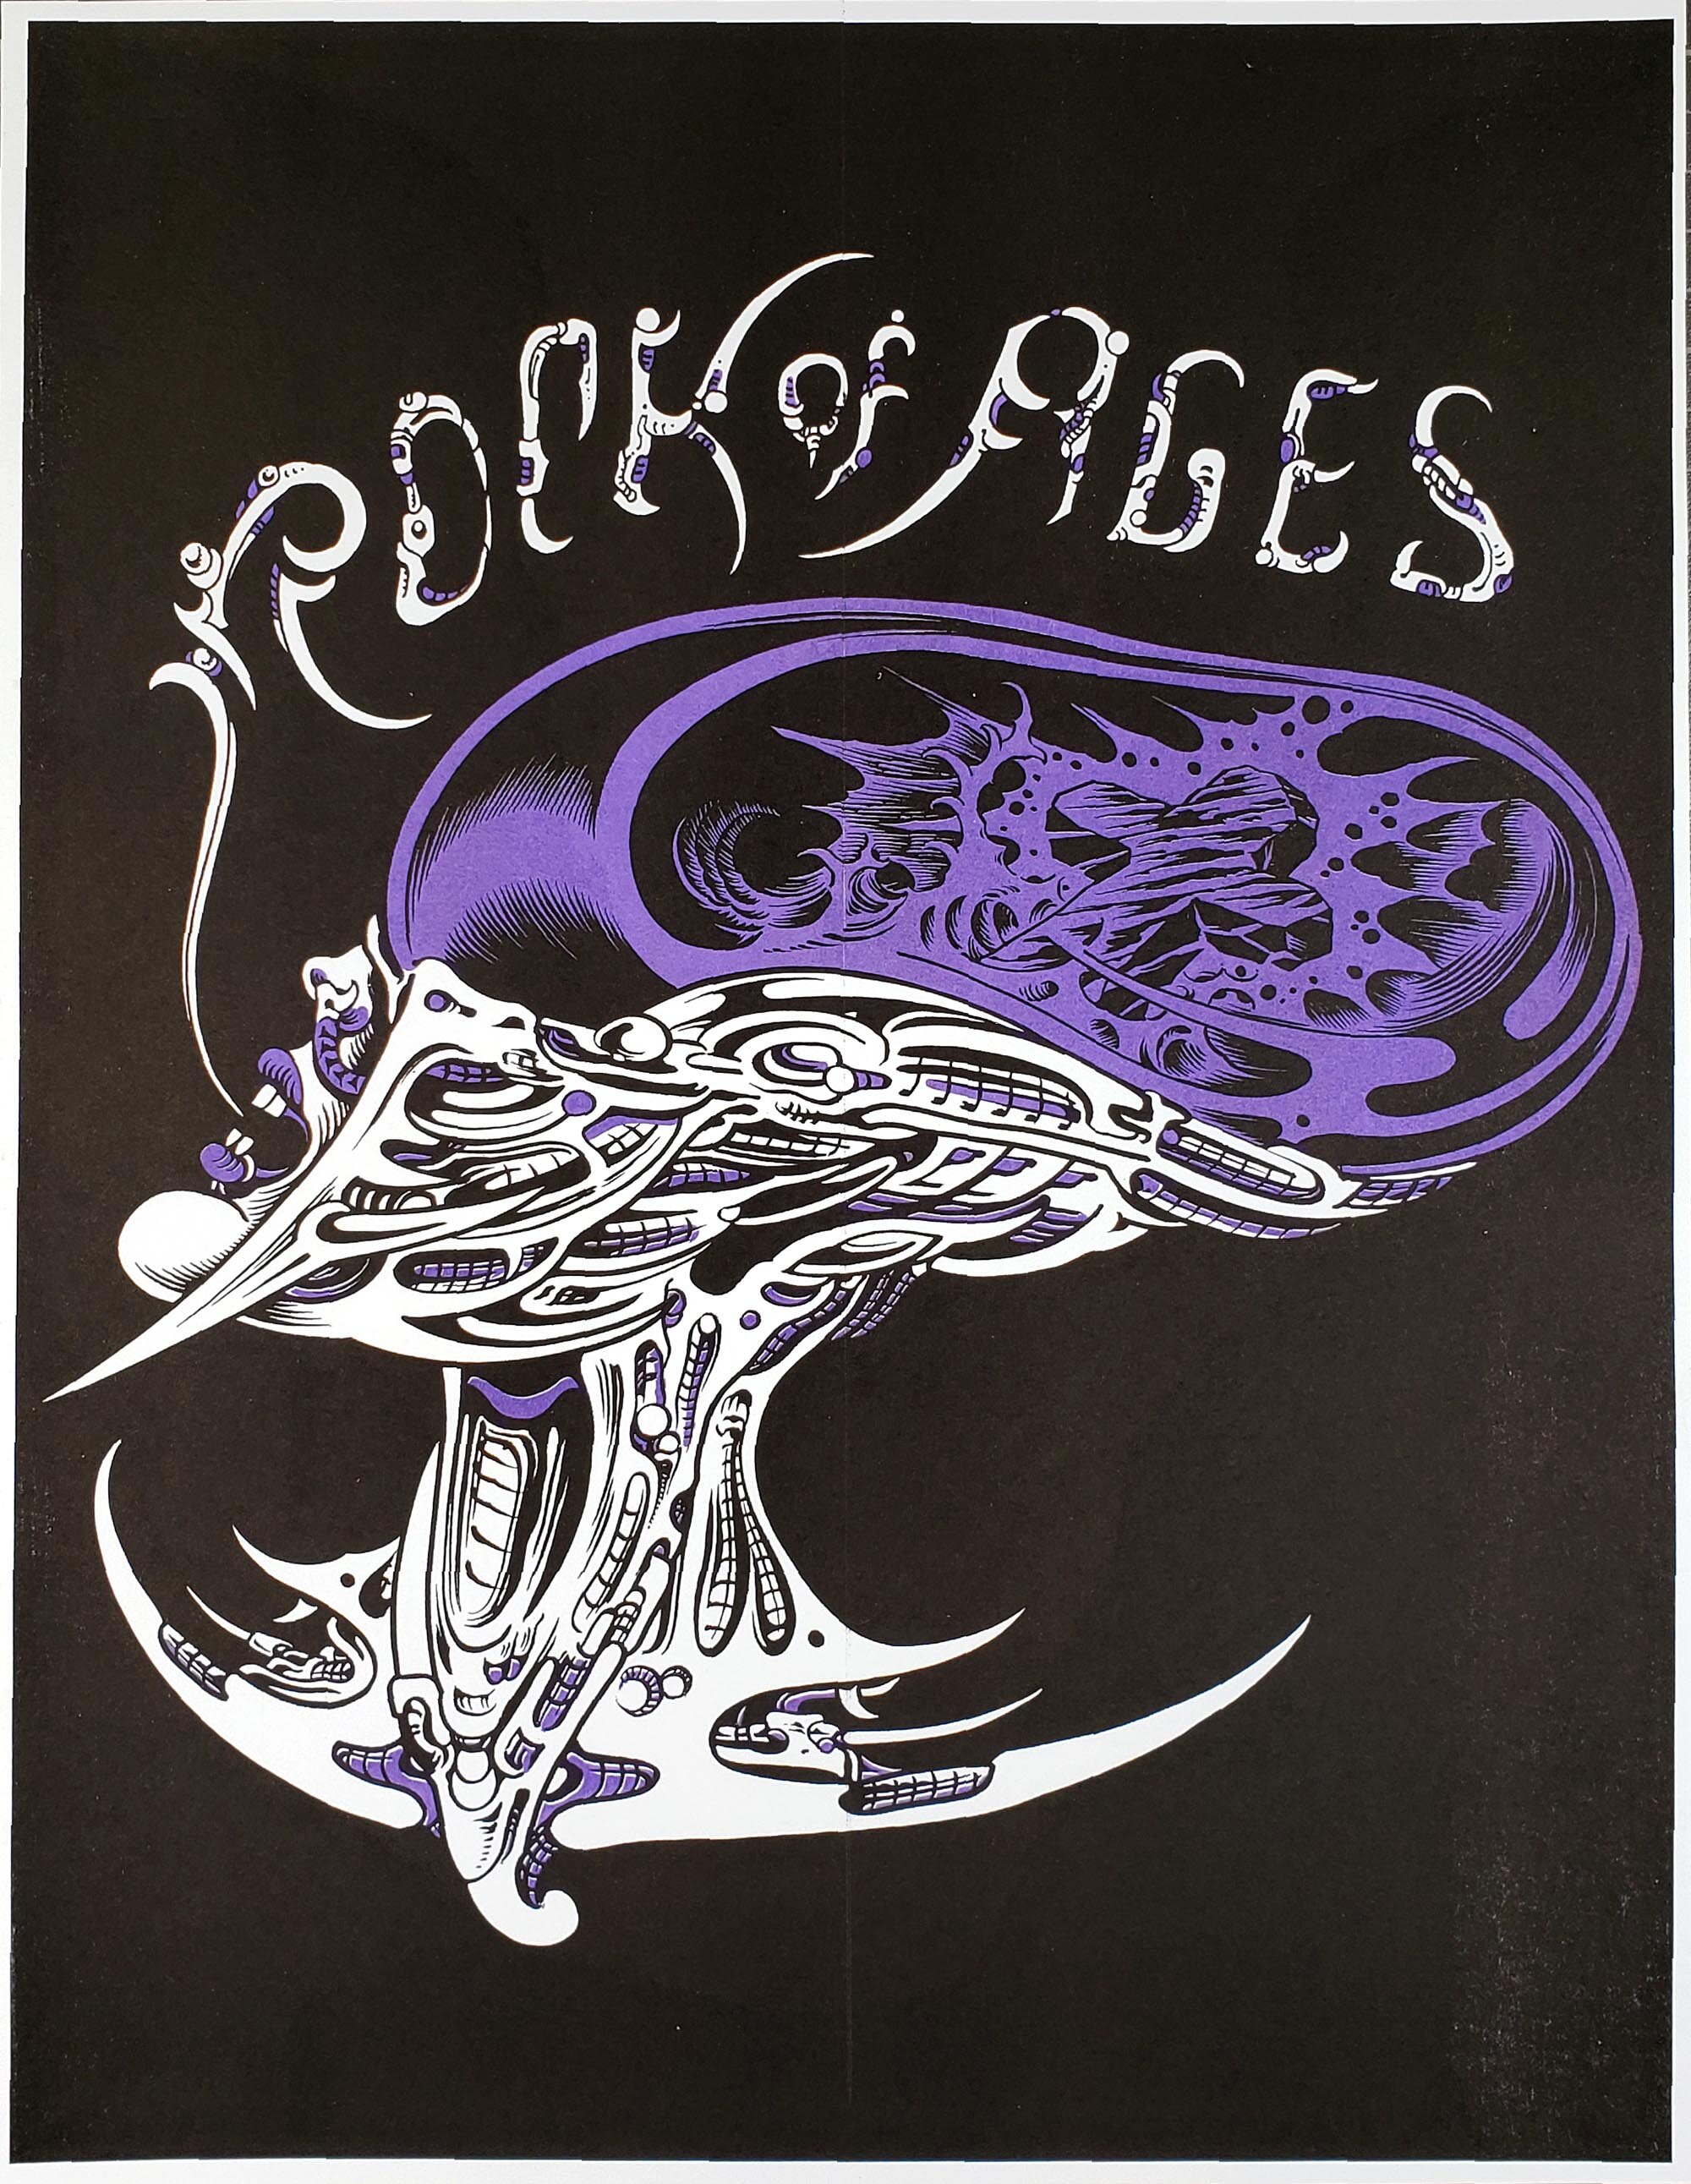
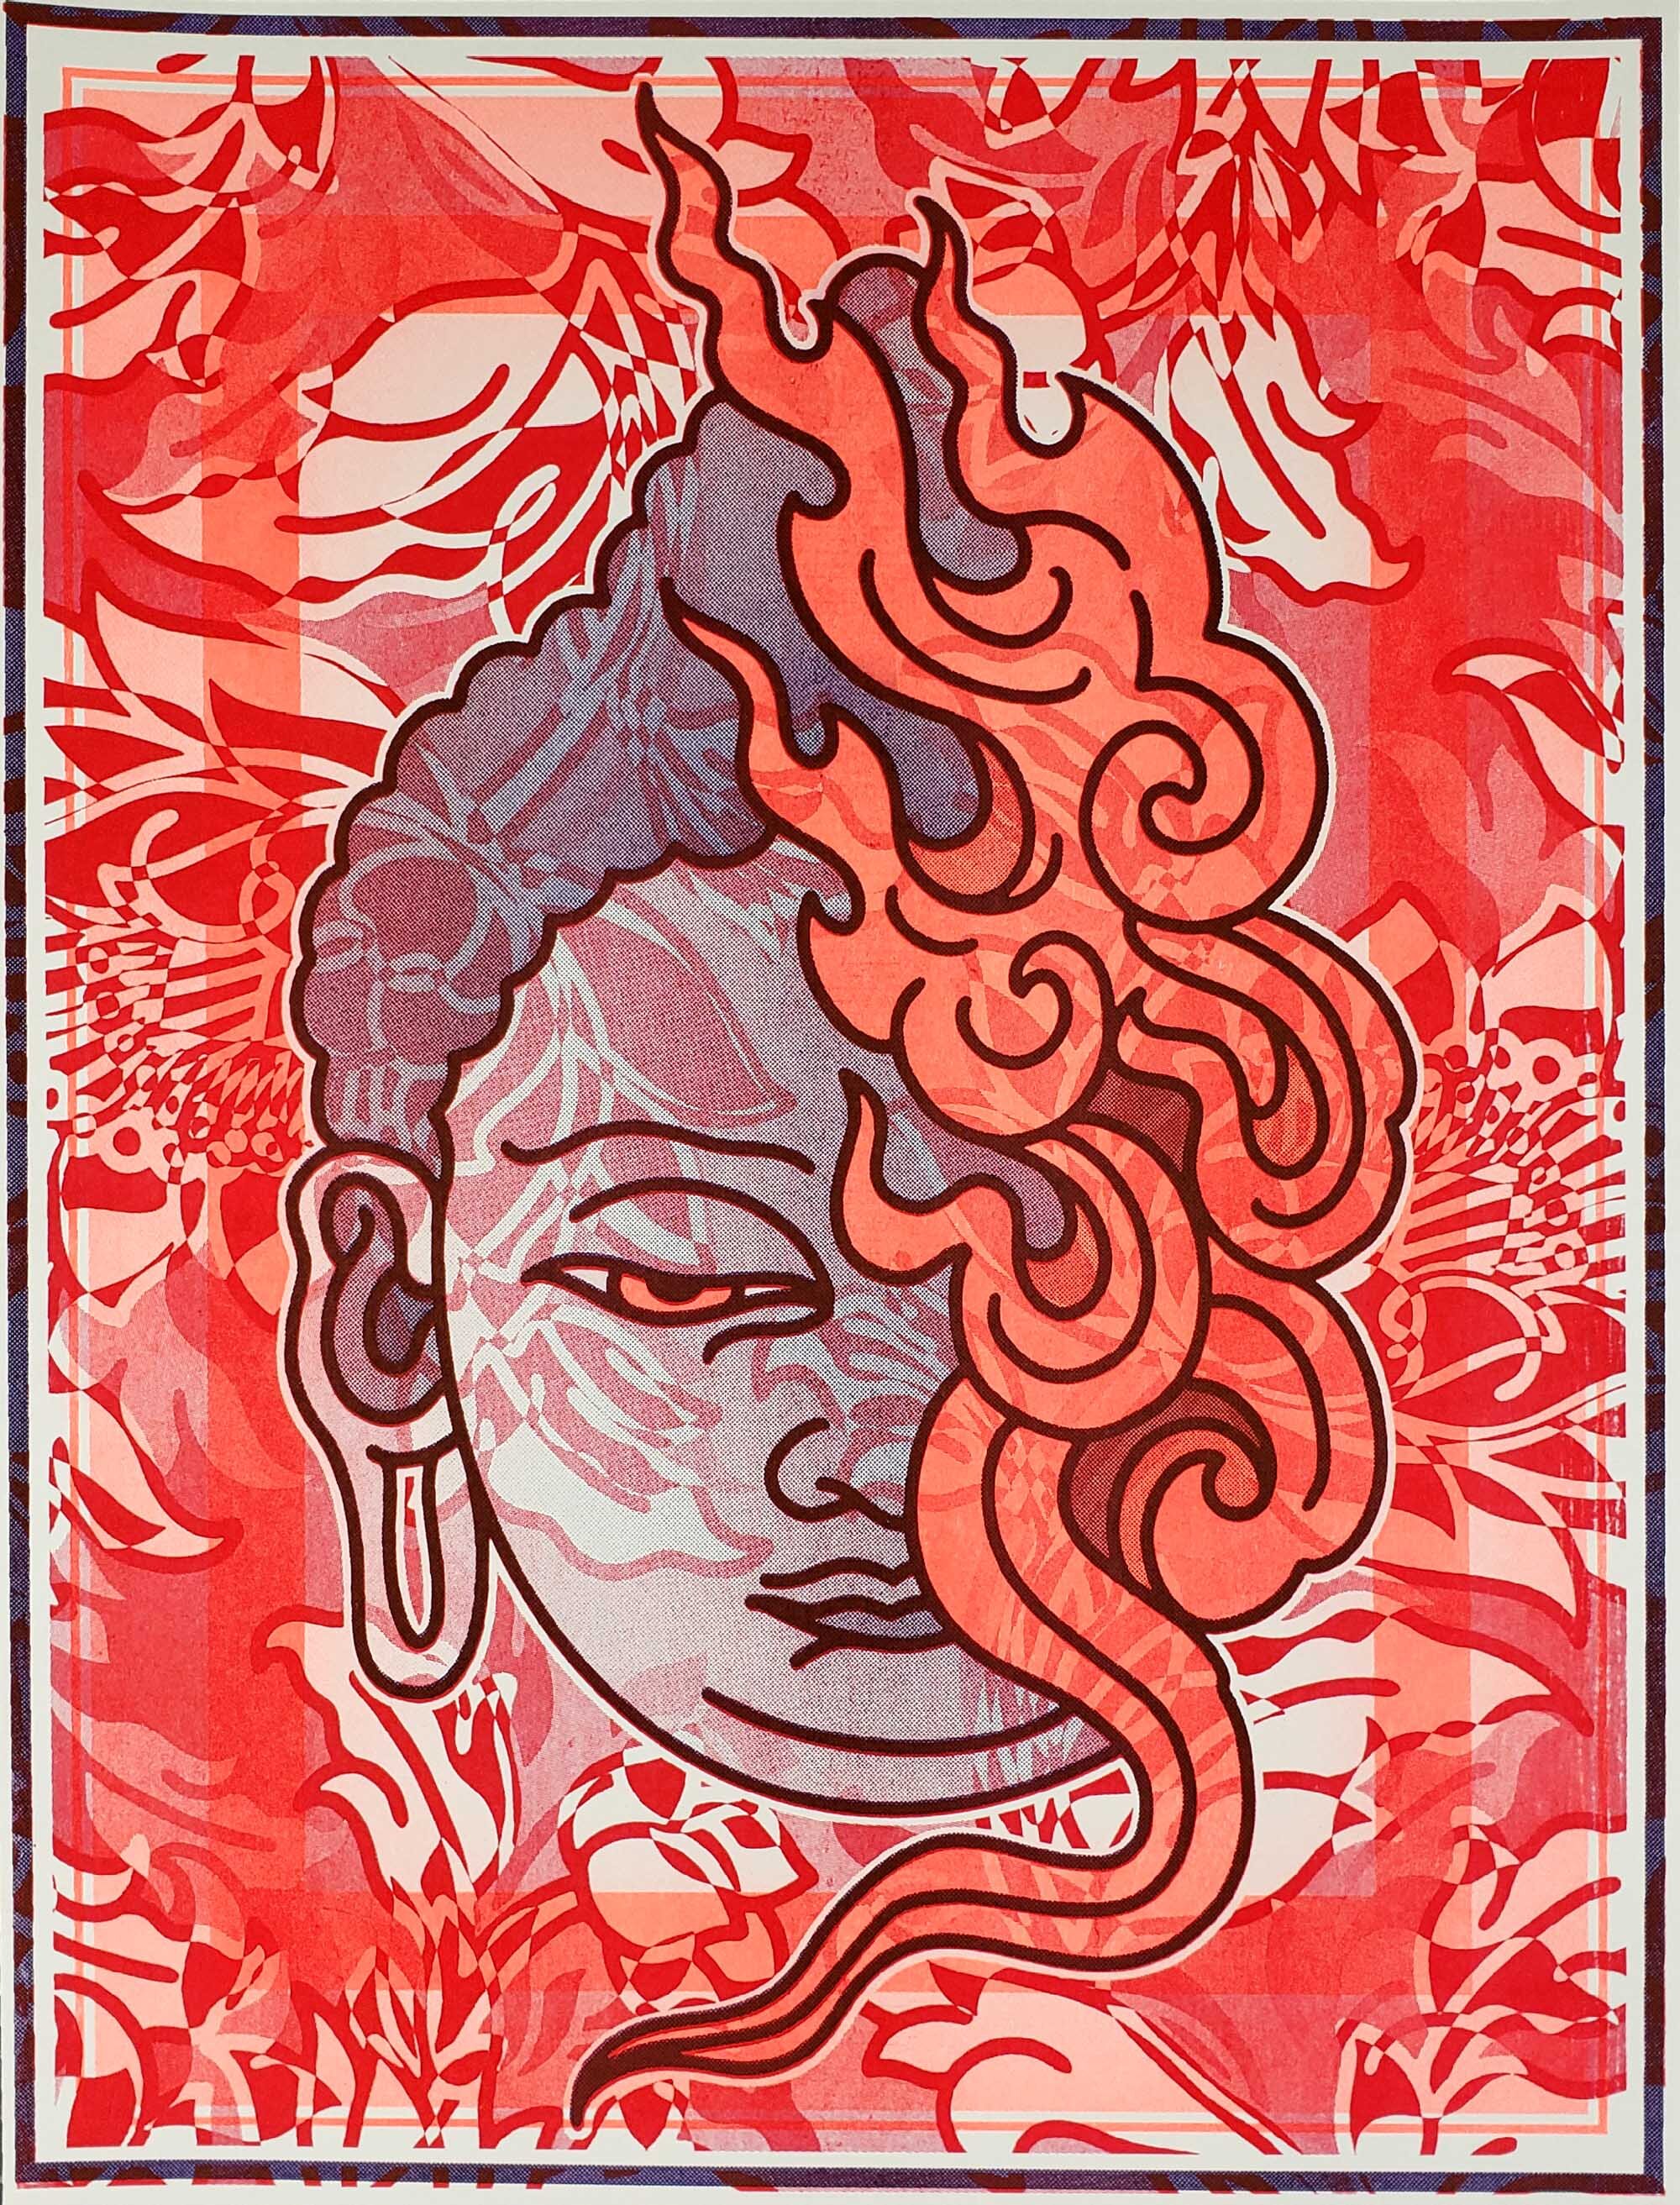
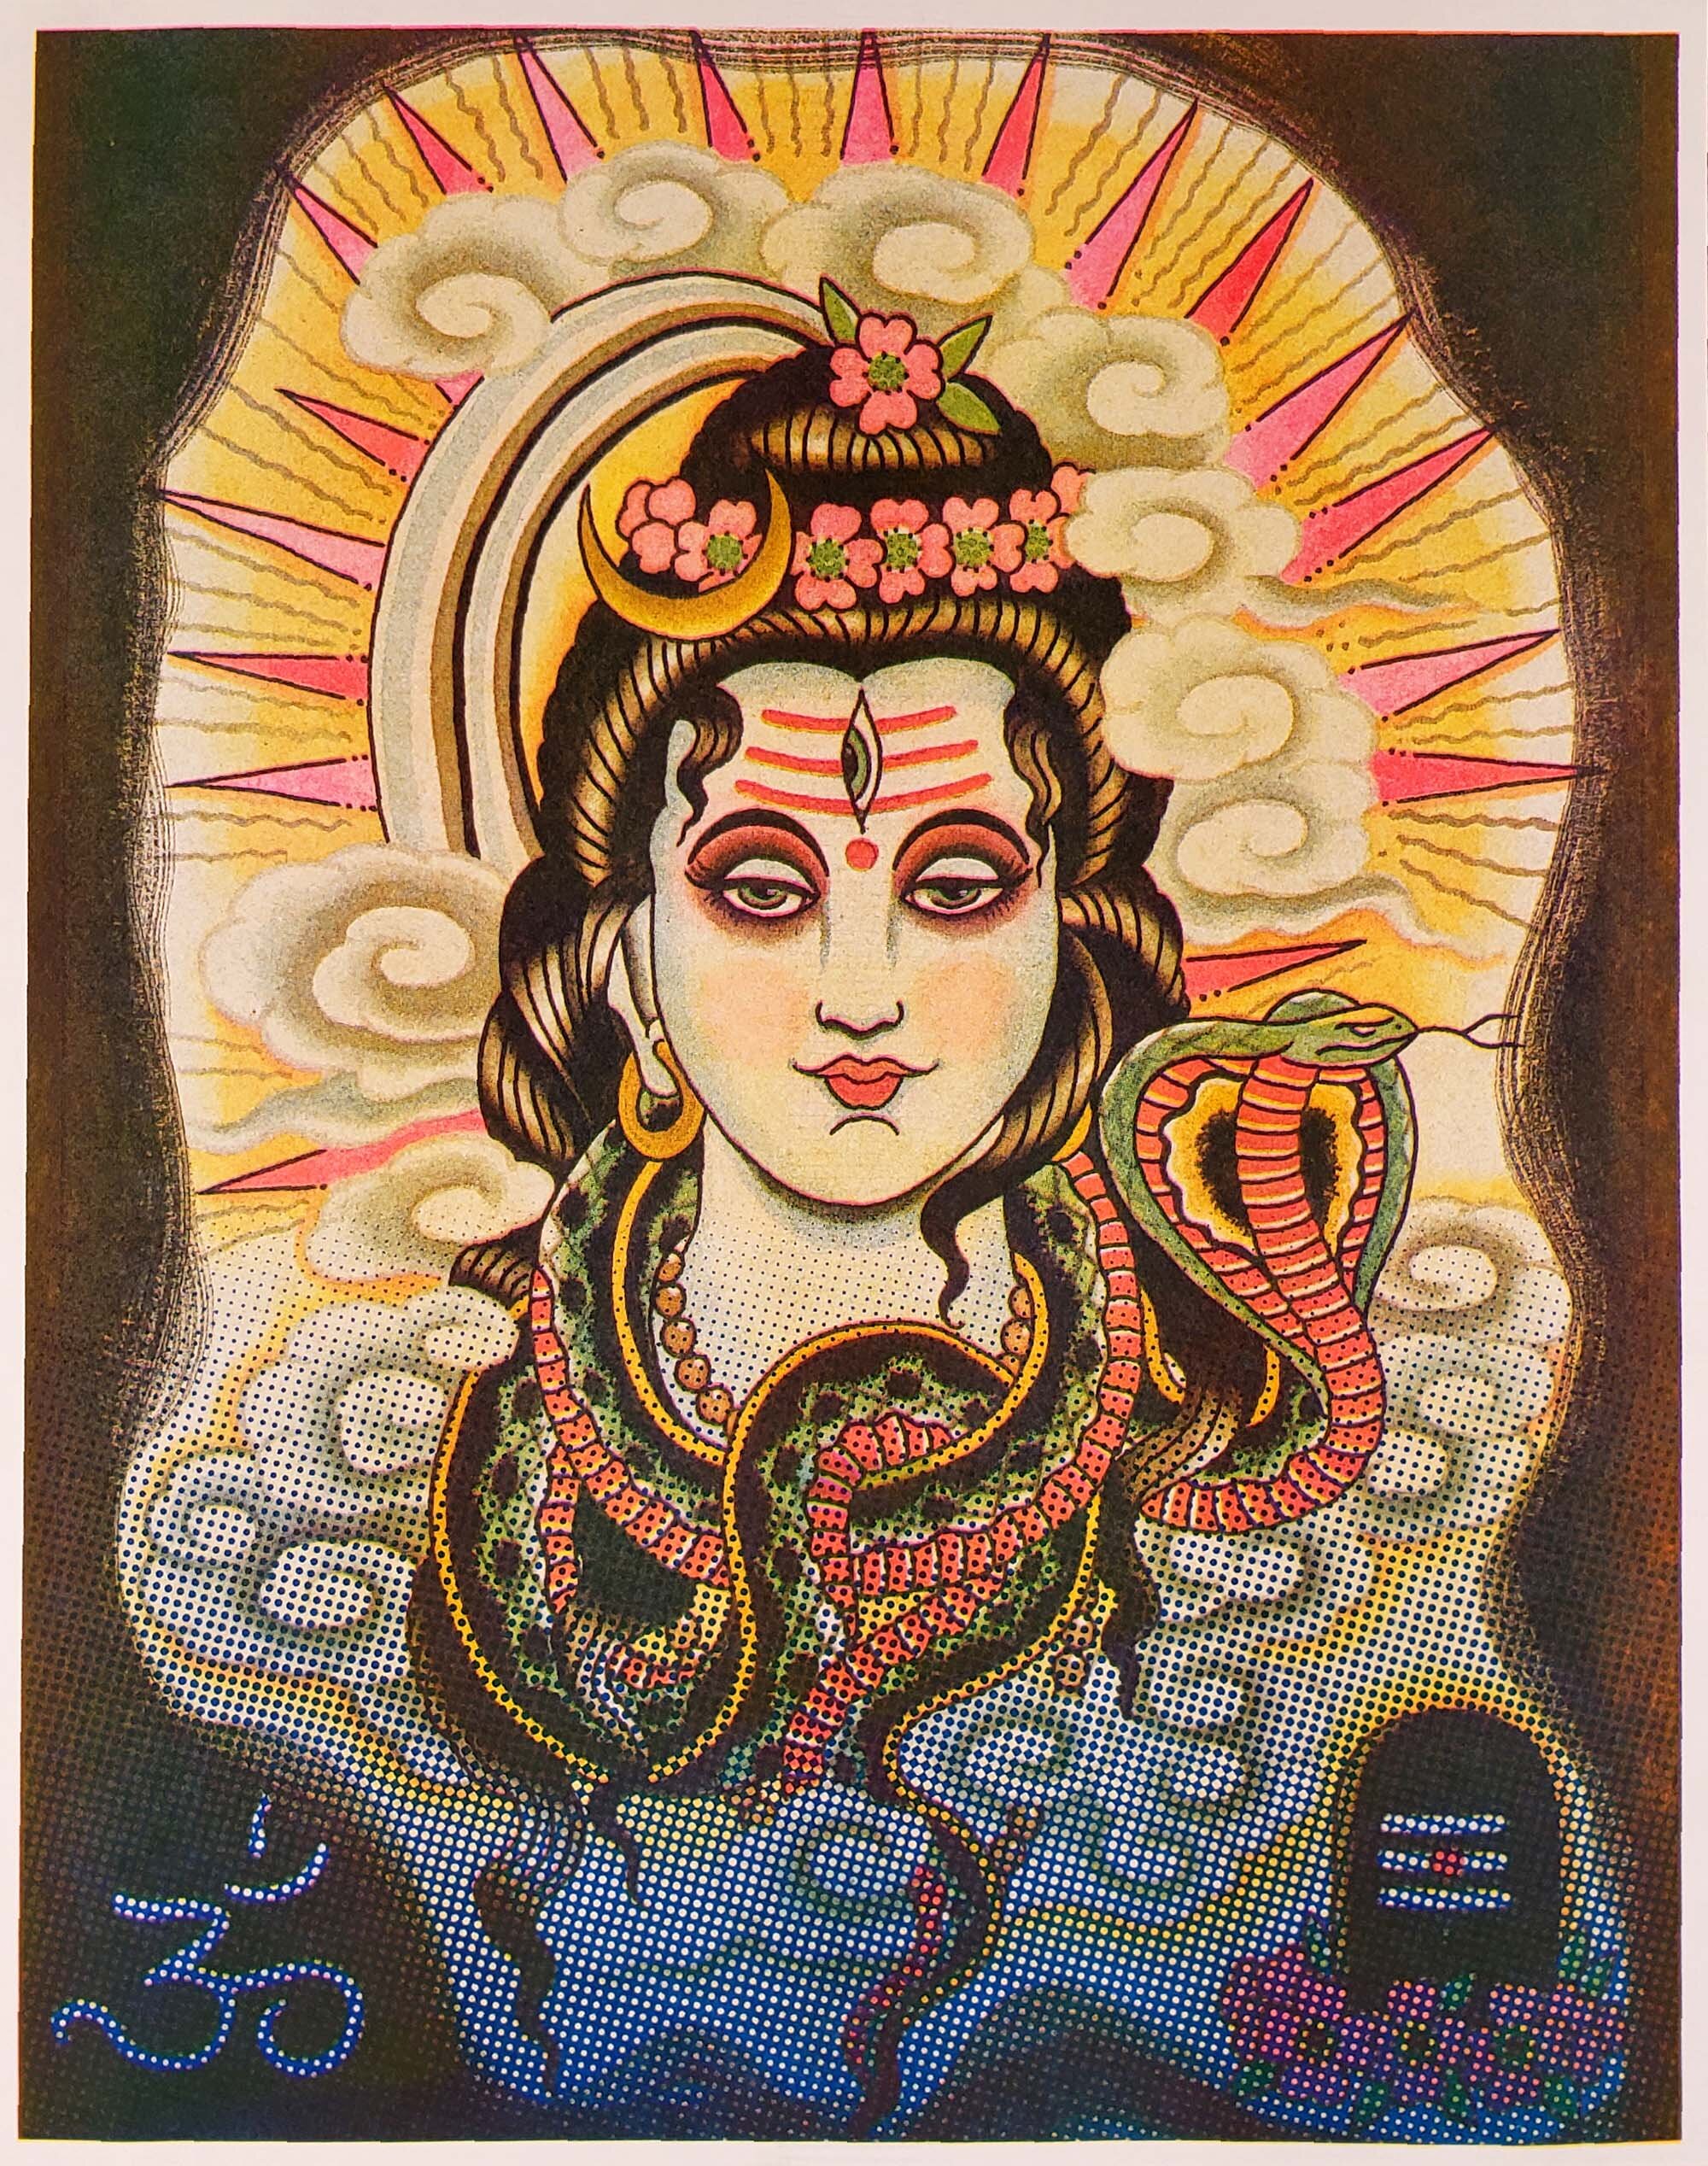
Risograph is a brand of digital printing presses manufactured by the Riso Kagaku Corporation, that are designed mainly for high-volume photocopying and printing. It was released in Japan in August 1986. When riso printing, the artwork is scanned through the machine and a master is created, by means of tiny heat spots on a thermal plate burning voids (corresponding to image areas) in a master sheet. This master is then wrapped around a drum and ink is forced through the voids in the master. The paper runs flat through the machine while the drum rotates at a high speed, pressing ink through exposed master, creating the image on paper.
For people who are familiar with screen printing, you’ll find your existing knowledge lends itself well to understanding the process of Riso printing, which also relies on a layering technique to produce multi-colored prints. For those who are not familiar with how to setup a file for riso/screen printing don’t worry, we can help you out with that!
ARTWORK SETUP
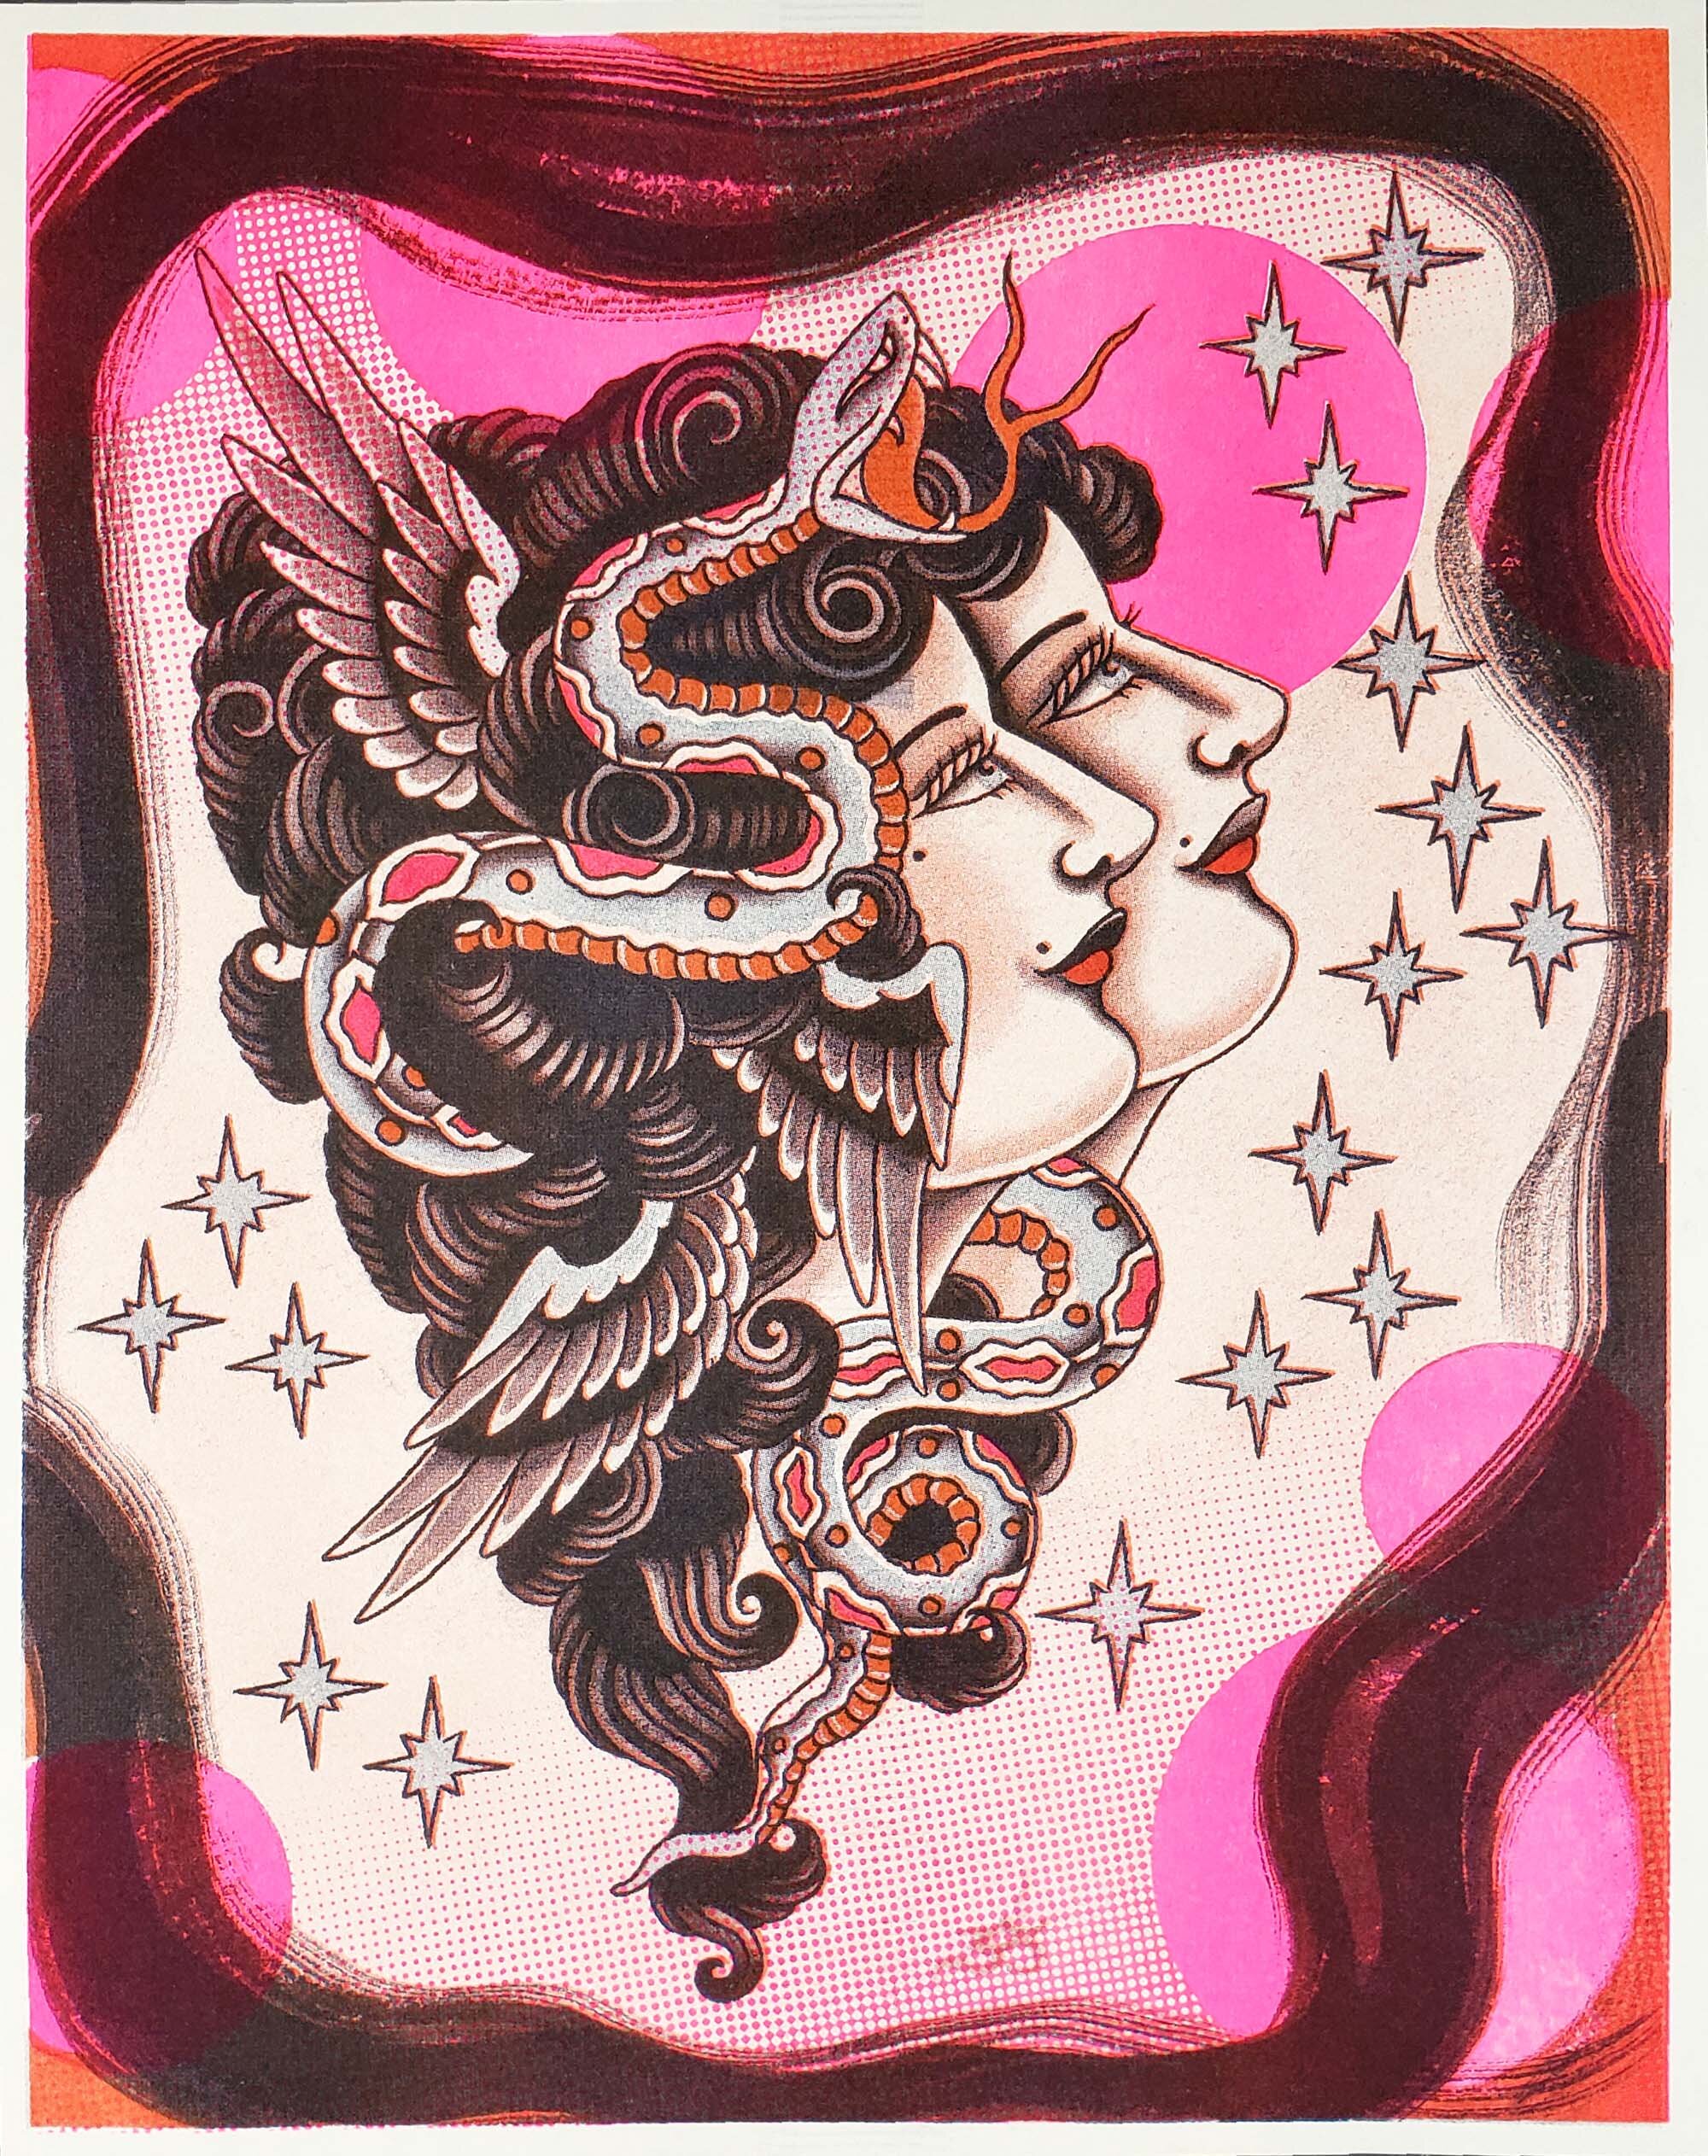
Riso artwork is set up in the same way as screen printing artwork, using positives and negatives. Each color is represented by a black and white image. The parts that are black will be printed in the riso color of your choice, the sections that are white will not be printed. Riso ink is semi transparent so layering 2 or 3 colors will make new ones. printing yellow over blue will create a green, orange over green will make brown.
The graphic below shows an example of how a two color print works. Top row represents the way the two layers would look in Photoshop. The bottom row shows how the layers would look printed in blue, orange and finally how they look layered together.
HALFTONING
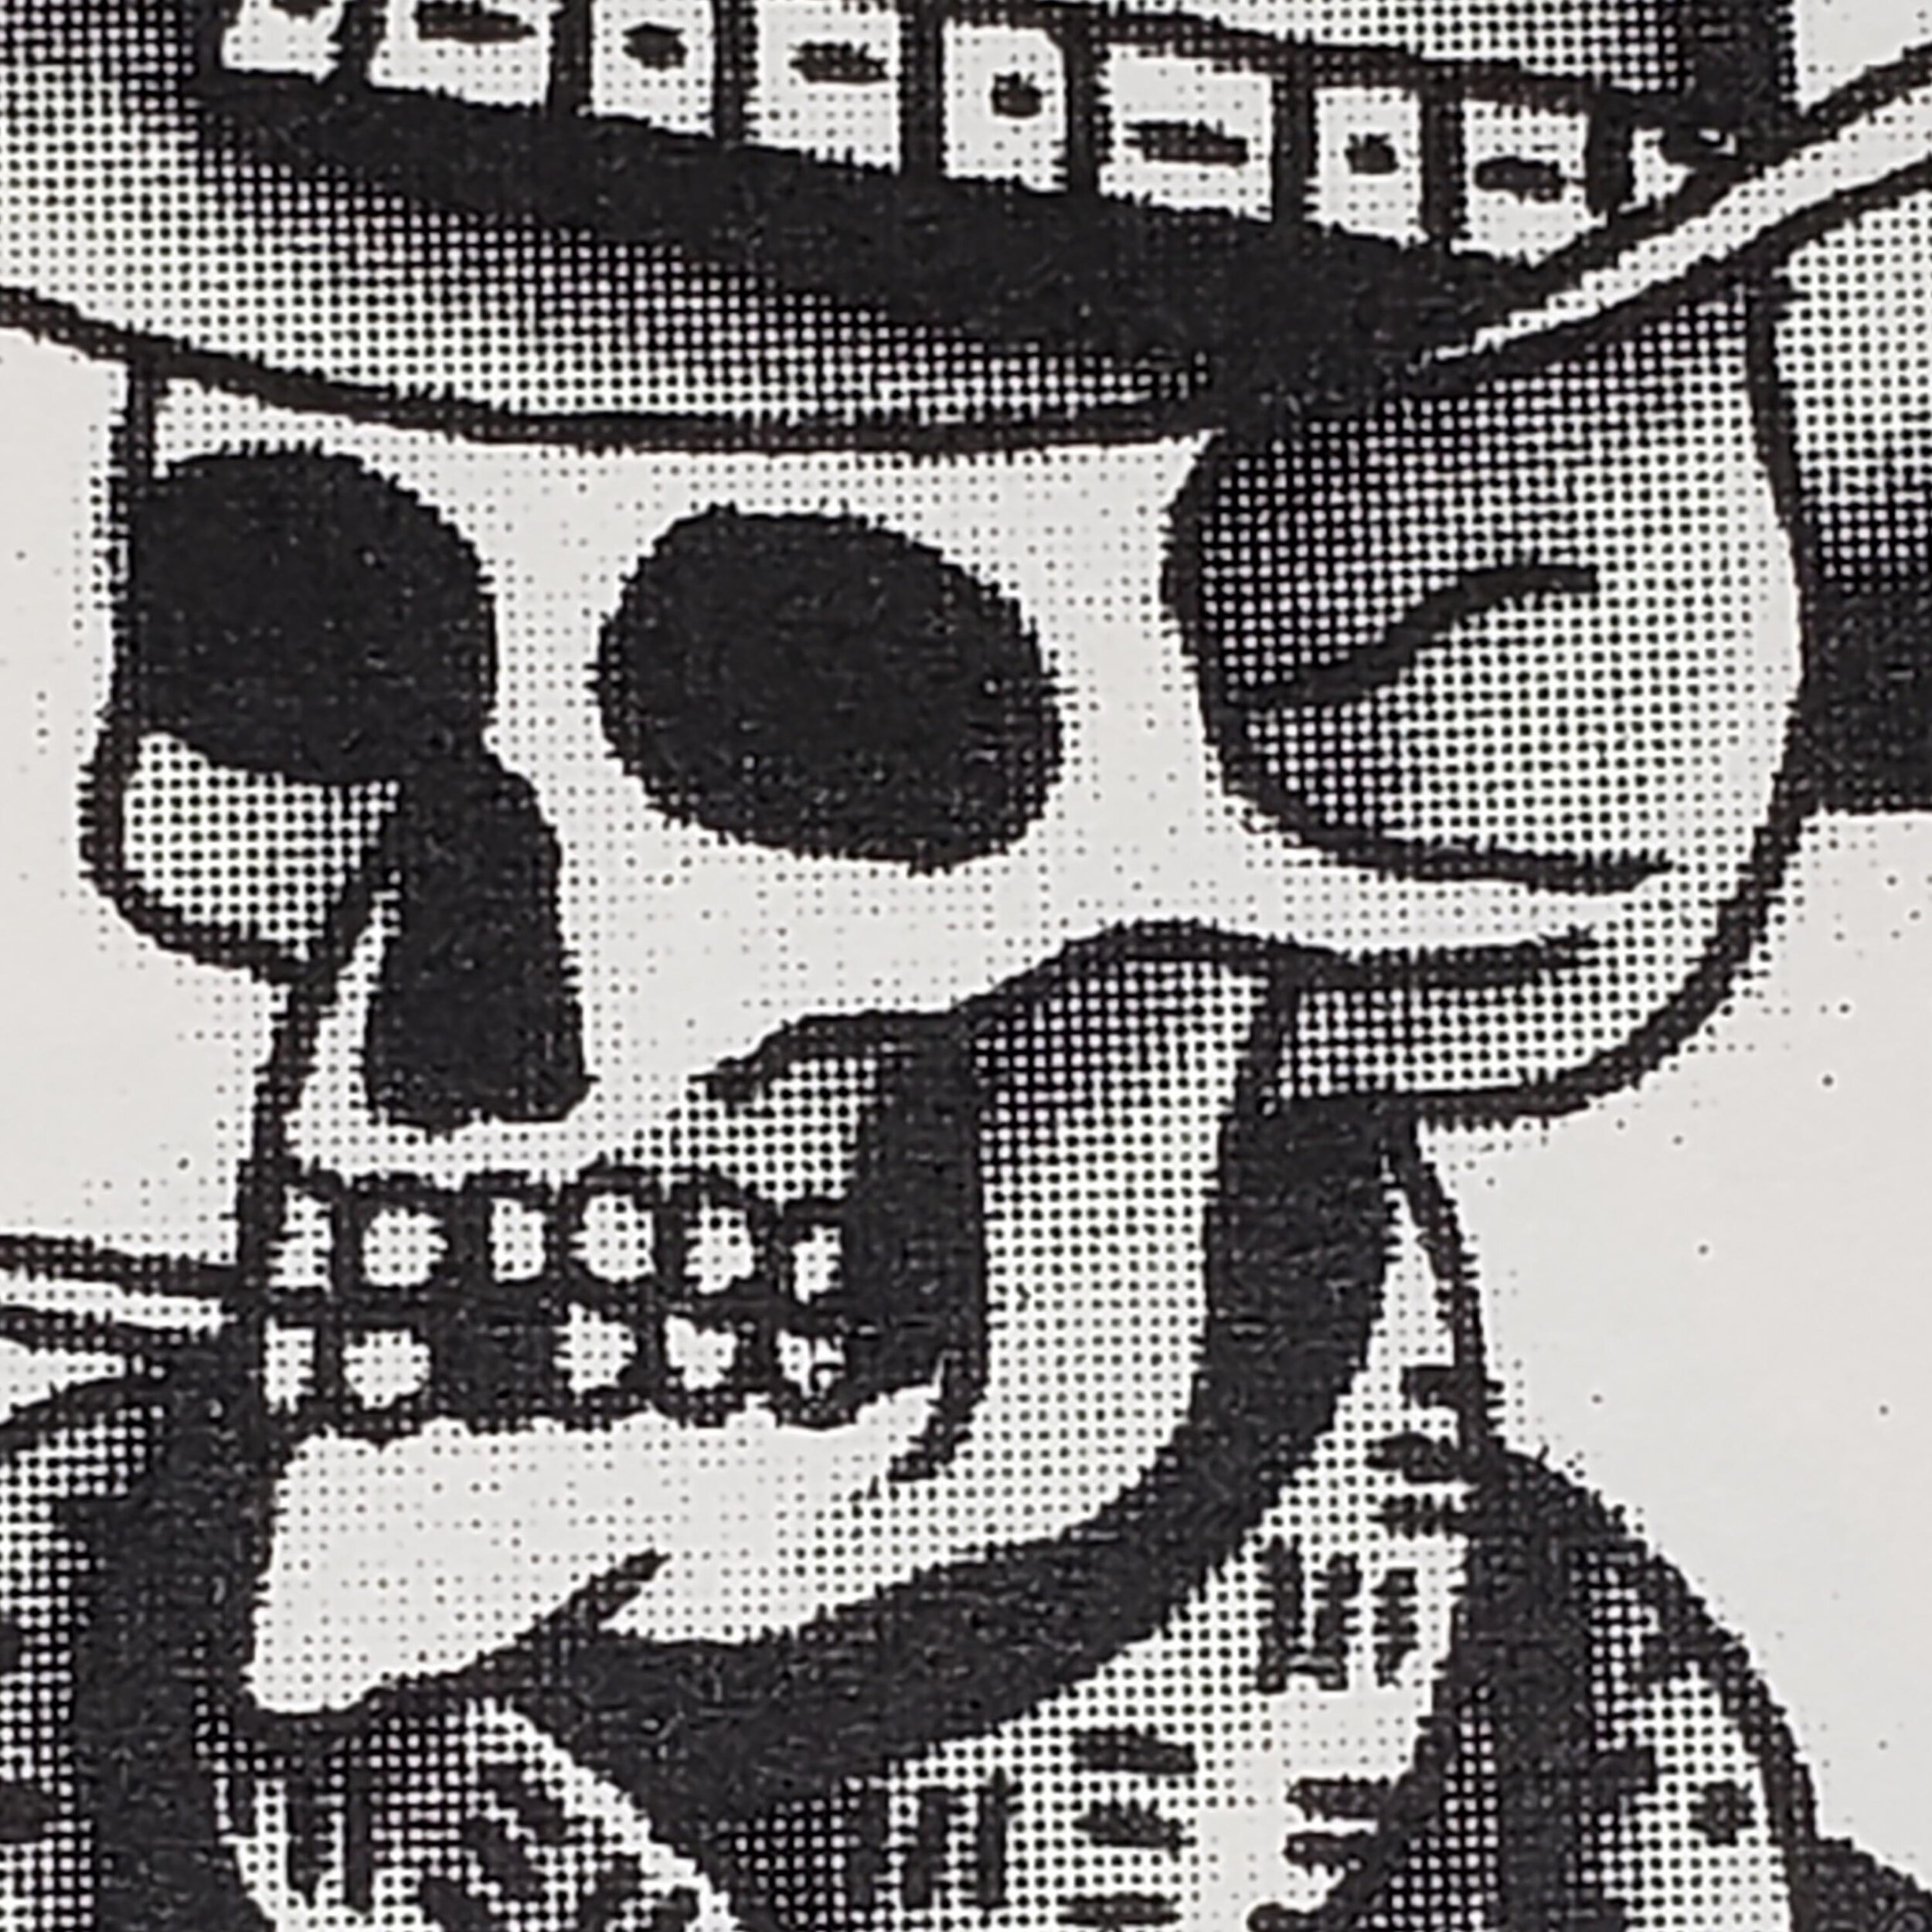
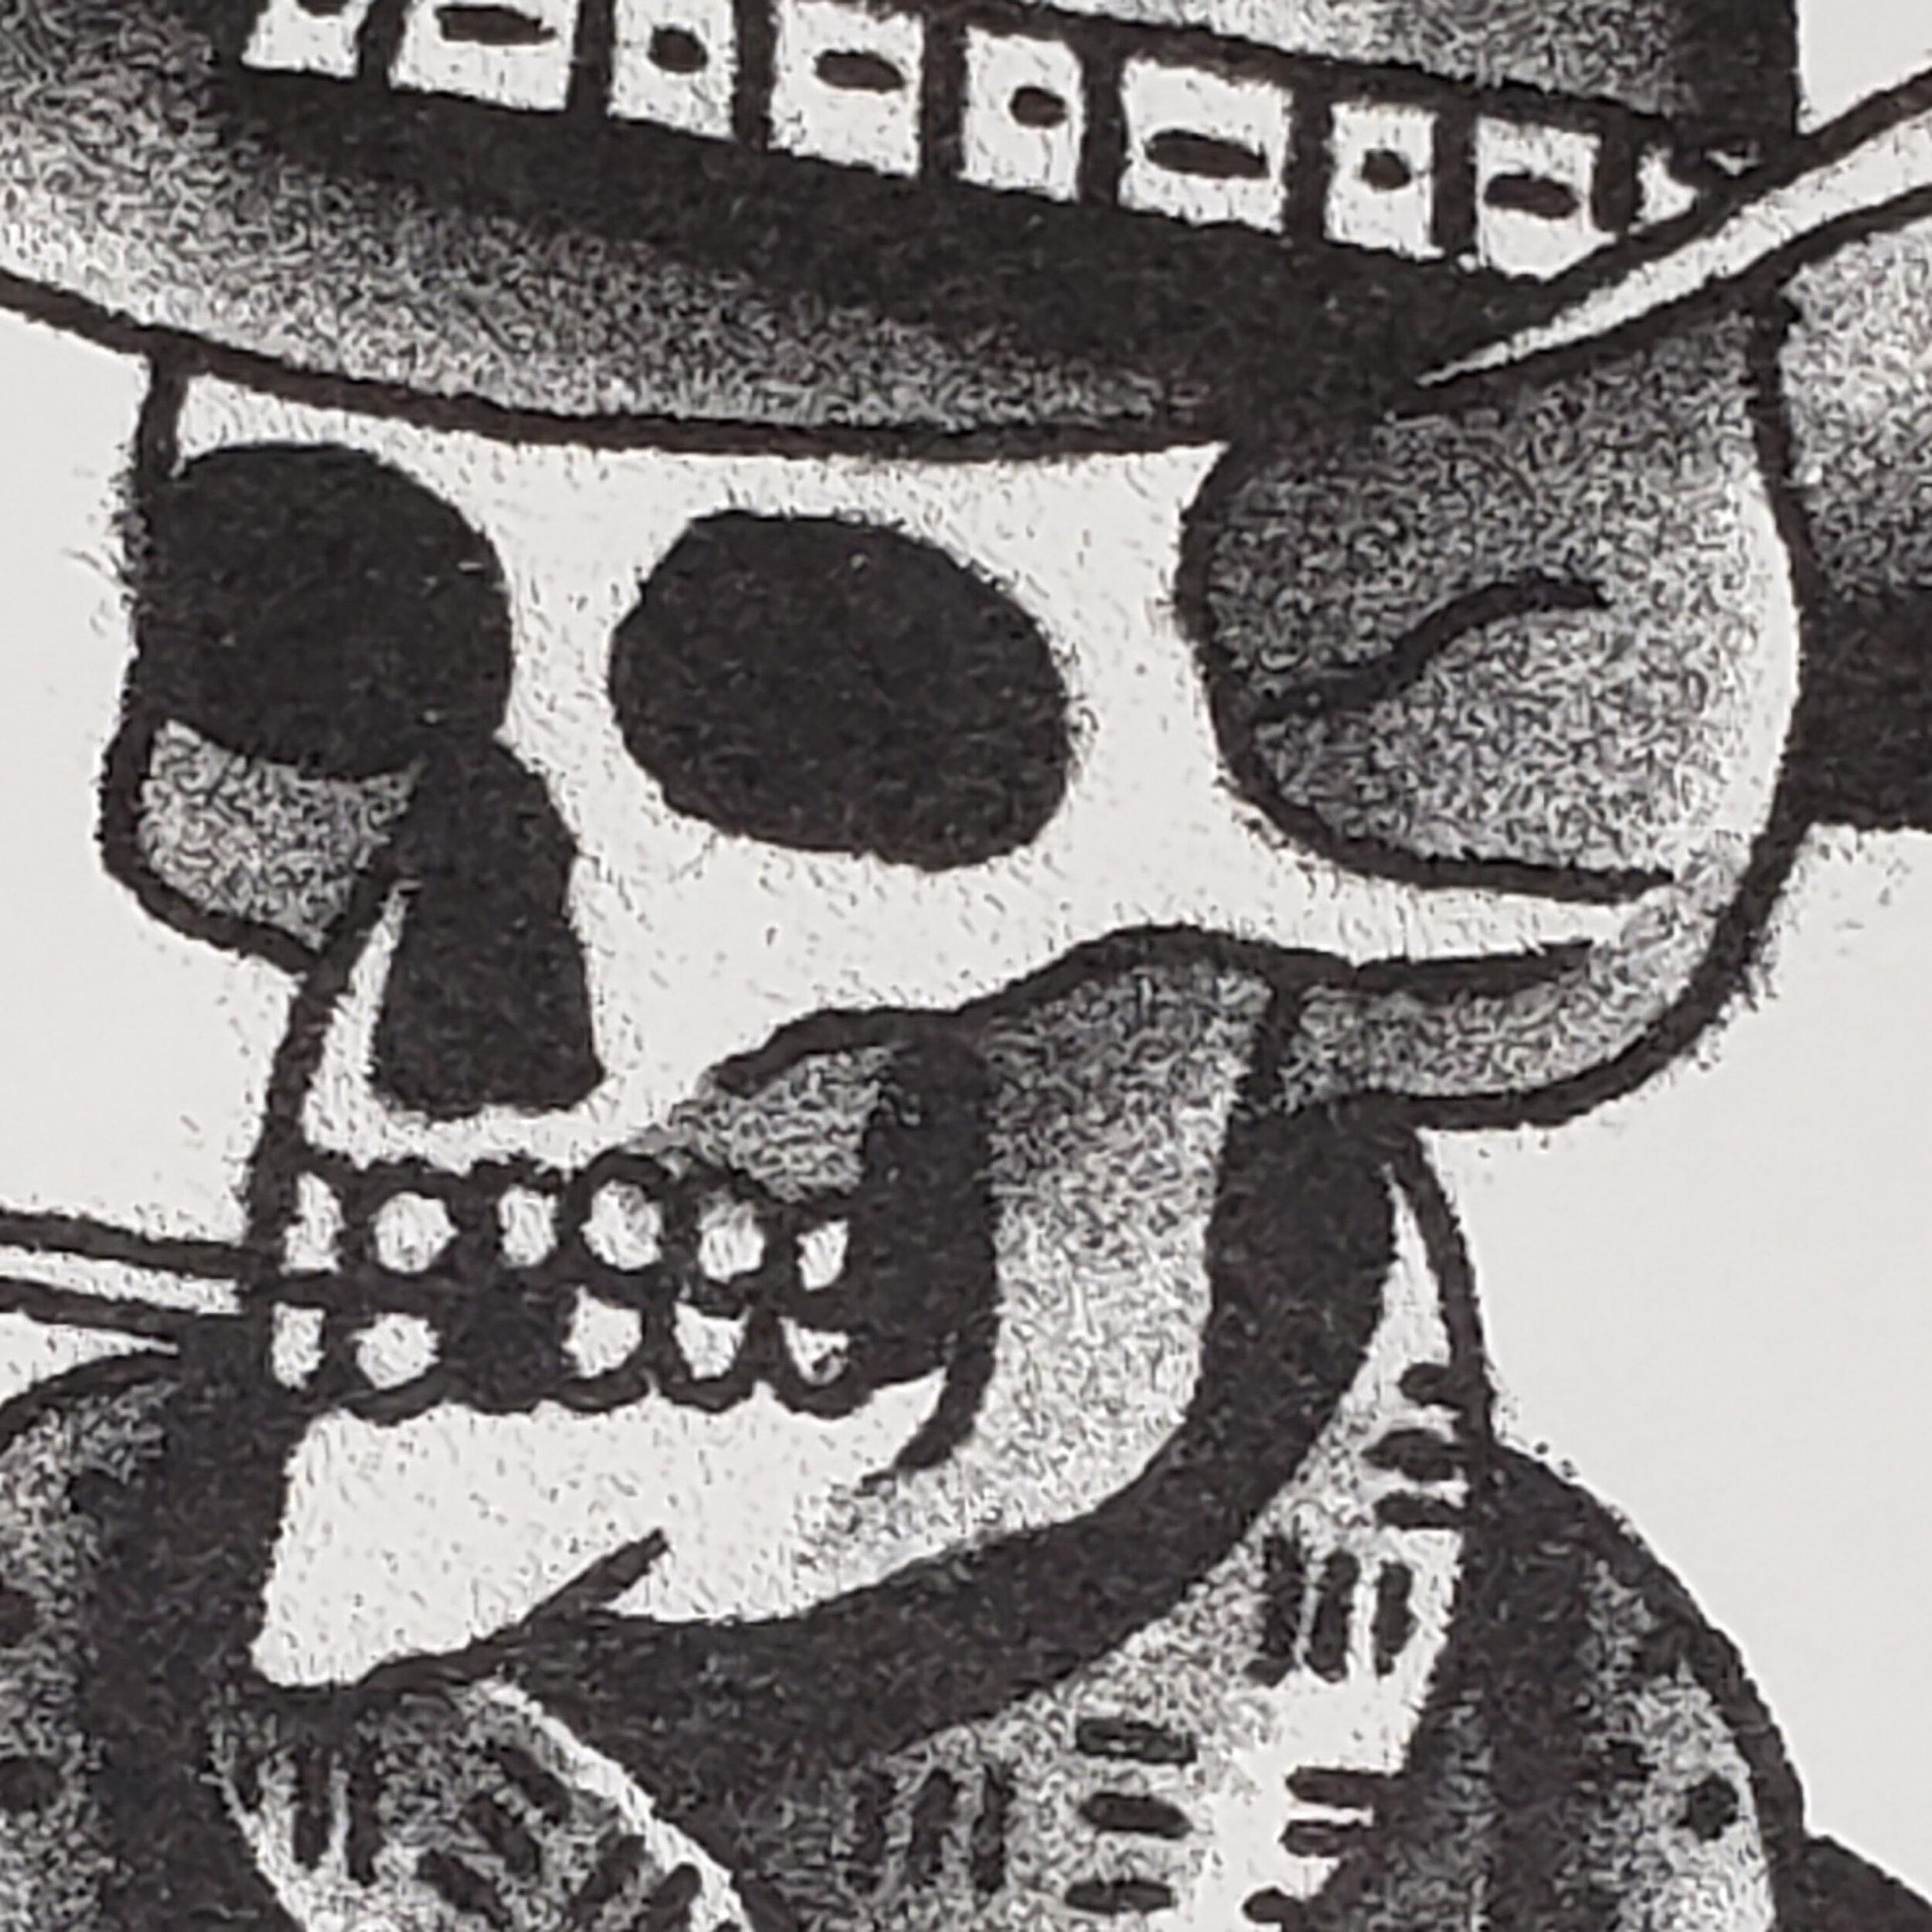
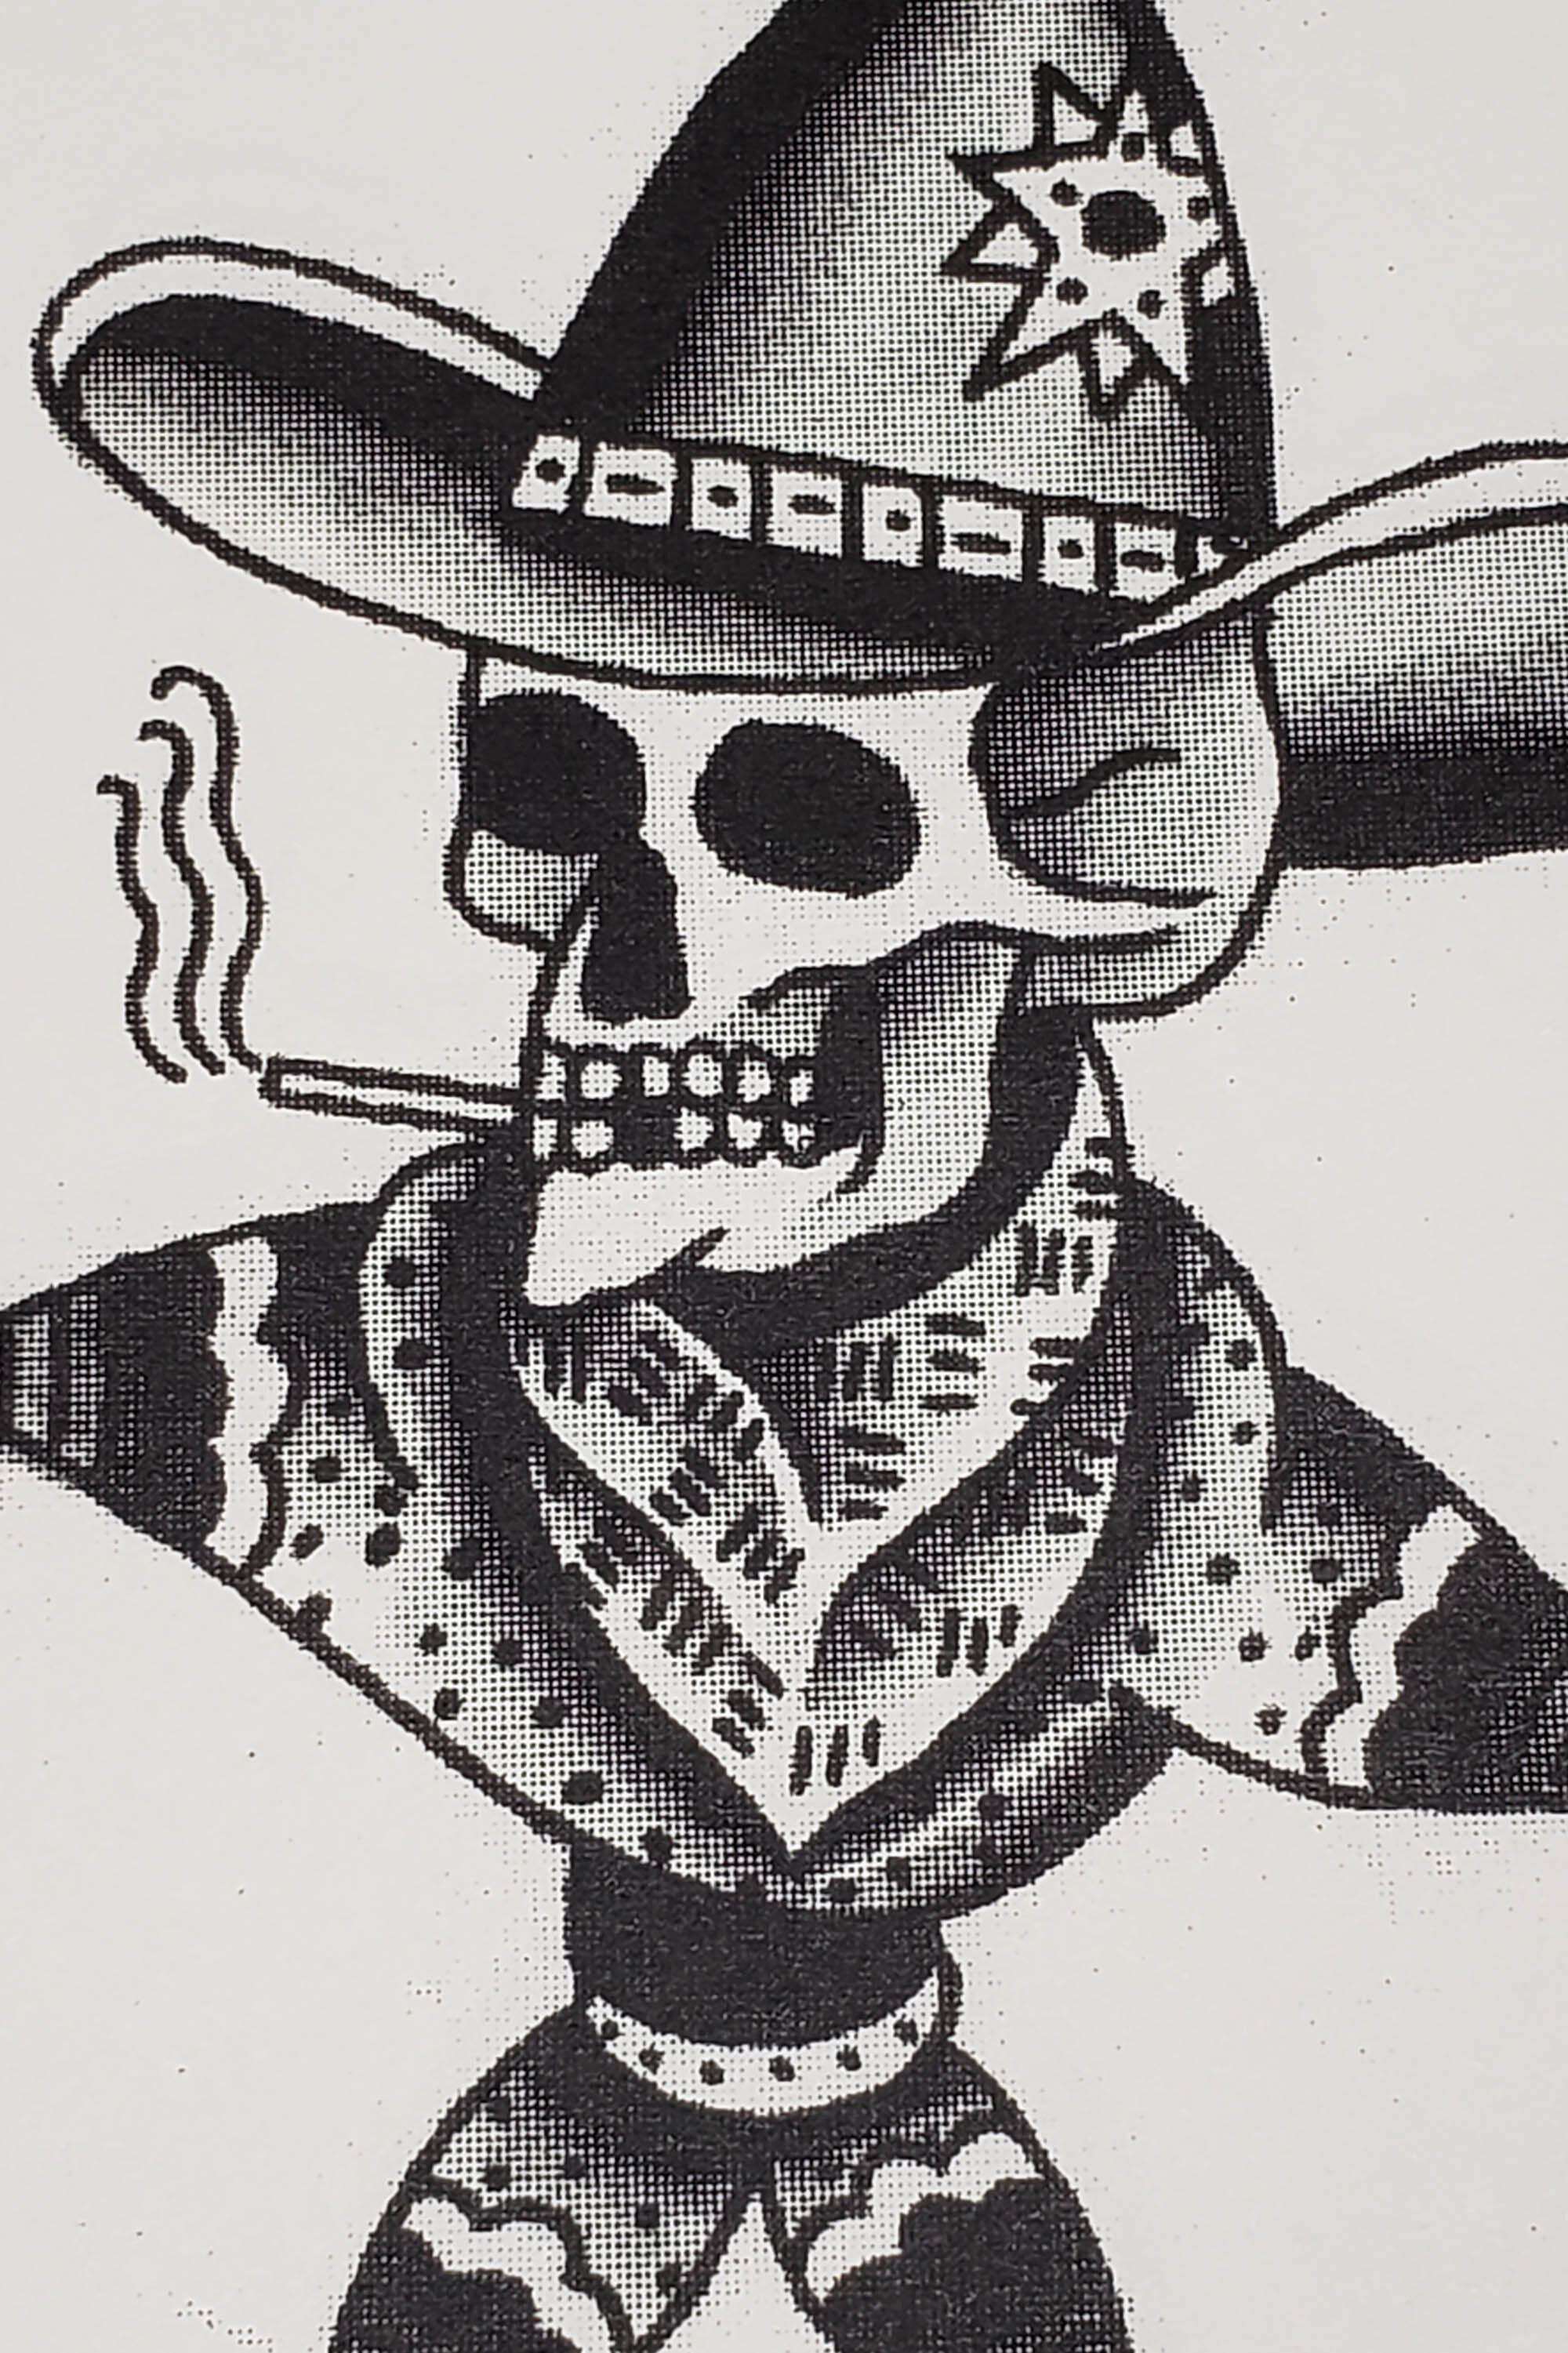
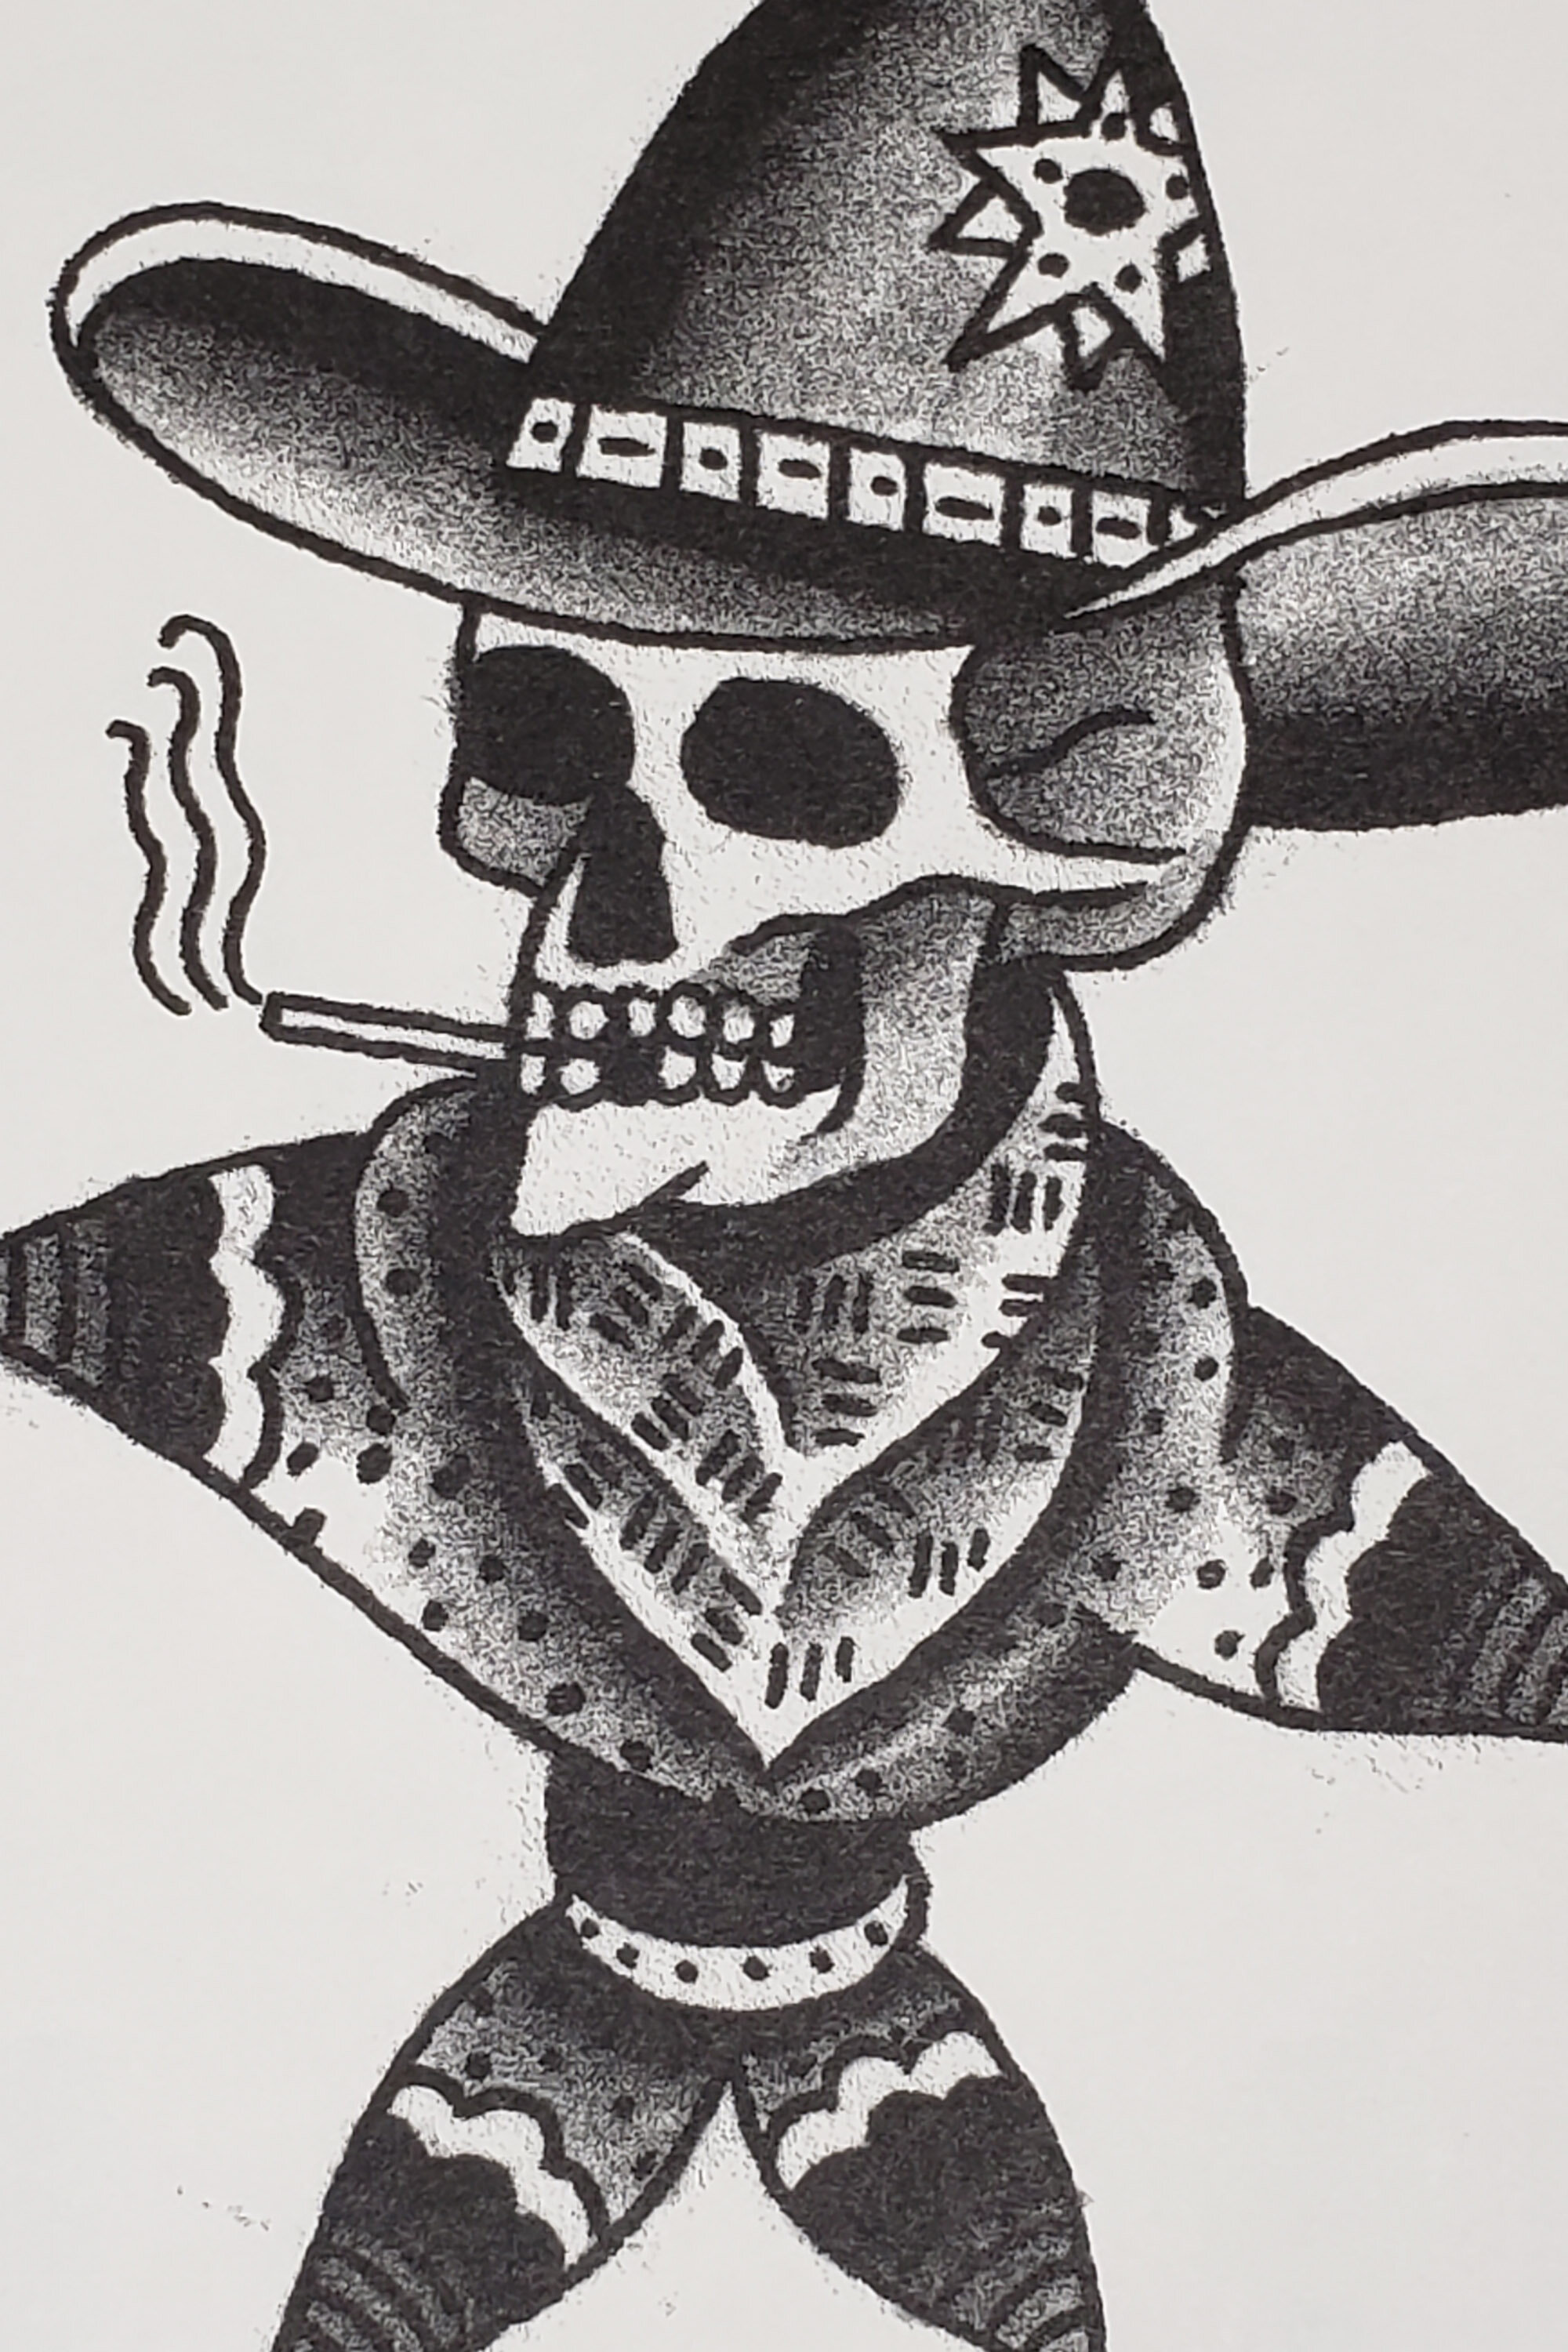
Riso printing doesn’t have to be just solid sections of color. Shading and gradients are printable using halftoning. Halftone is the reprographic technique that simulates continuous-tone imagery through the use of dots, varying either in size or in spacing, thus generating a gradient-like effect.
EXAMPLE
HALFTONE TYPES
The two main types of halftone are AM (amplitude modulation) and FM (frequency modulation).
The halftone dots in a conventional AM halftone screen are arranged on a grid. Larger dots are rendered for darker tonal values while smaller dots are used for lighter values – hence the term Amplitude Modulated (dot size controlled) screen, or AM screen. When viewed from a distance these dots create the illusion of a continuous tone reproduction. The clean consistent dots of AM make it a great option for reproducing photographs and finished paintings.
In FM screening very small dots are arranged in a random pattern. Dark tones are rendered with more dots and light tones with fewer dots – hence the term Frequency Modulated (quantity controlled) screen. The erratic nature of FM make it a good choice for printing rough sketches.
THINGS TO KNOW ABOUT RISO
Max paper size is 11x17
Max print area is 10.5x16.5
Minimum print run is 50
Paper weight for art prints range from 65# card - 100# card. Our go to choice is usually 67# bristol finished cardstock.
Sometimes registration between layers isn’t perfect. You can expect the alignment between colors to move as much as 1mm in any direction. designing layers to include “trapping” can help to hide some of this movement.
Riso ink is rice oil based similar to newspaper ink. If you rub the shit out of it, you might smudge it. Smudging is usually very minimal, and the longer it dries the less chance there is it’ll happen.
Sometimes prints will have slightly uneven coverage. It’s important to remember that riso is never perfect but that’s the beauty in it. It’s unpredictable nature adds a handmade look to your print project.
PRICING
Pricing is based on an 11x17 print. Smaller sizes like 8x10 can be tiled out 2 per a sheet.
ONE COLOR PRINT $1.00 EACH
TWO COLOR PRINT $1.50 EACH
THREE COLOR PRINT $2.50 EACH
FOUR COLOR PRINT $3.00 EACH
Volume discounts available for orders above 50.
COLORS
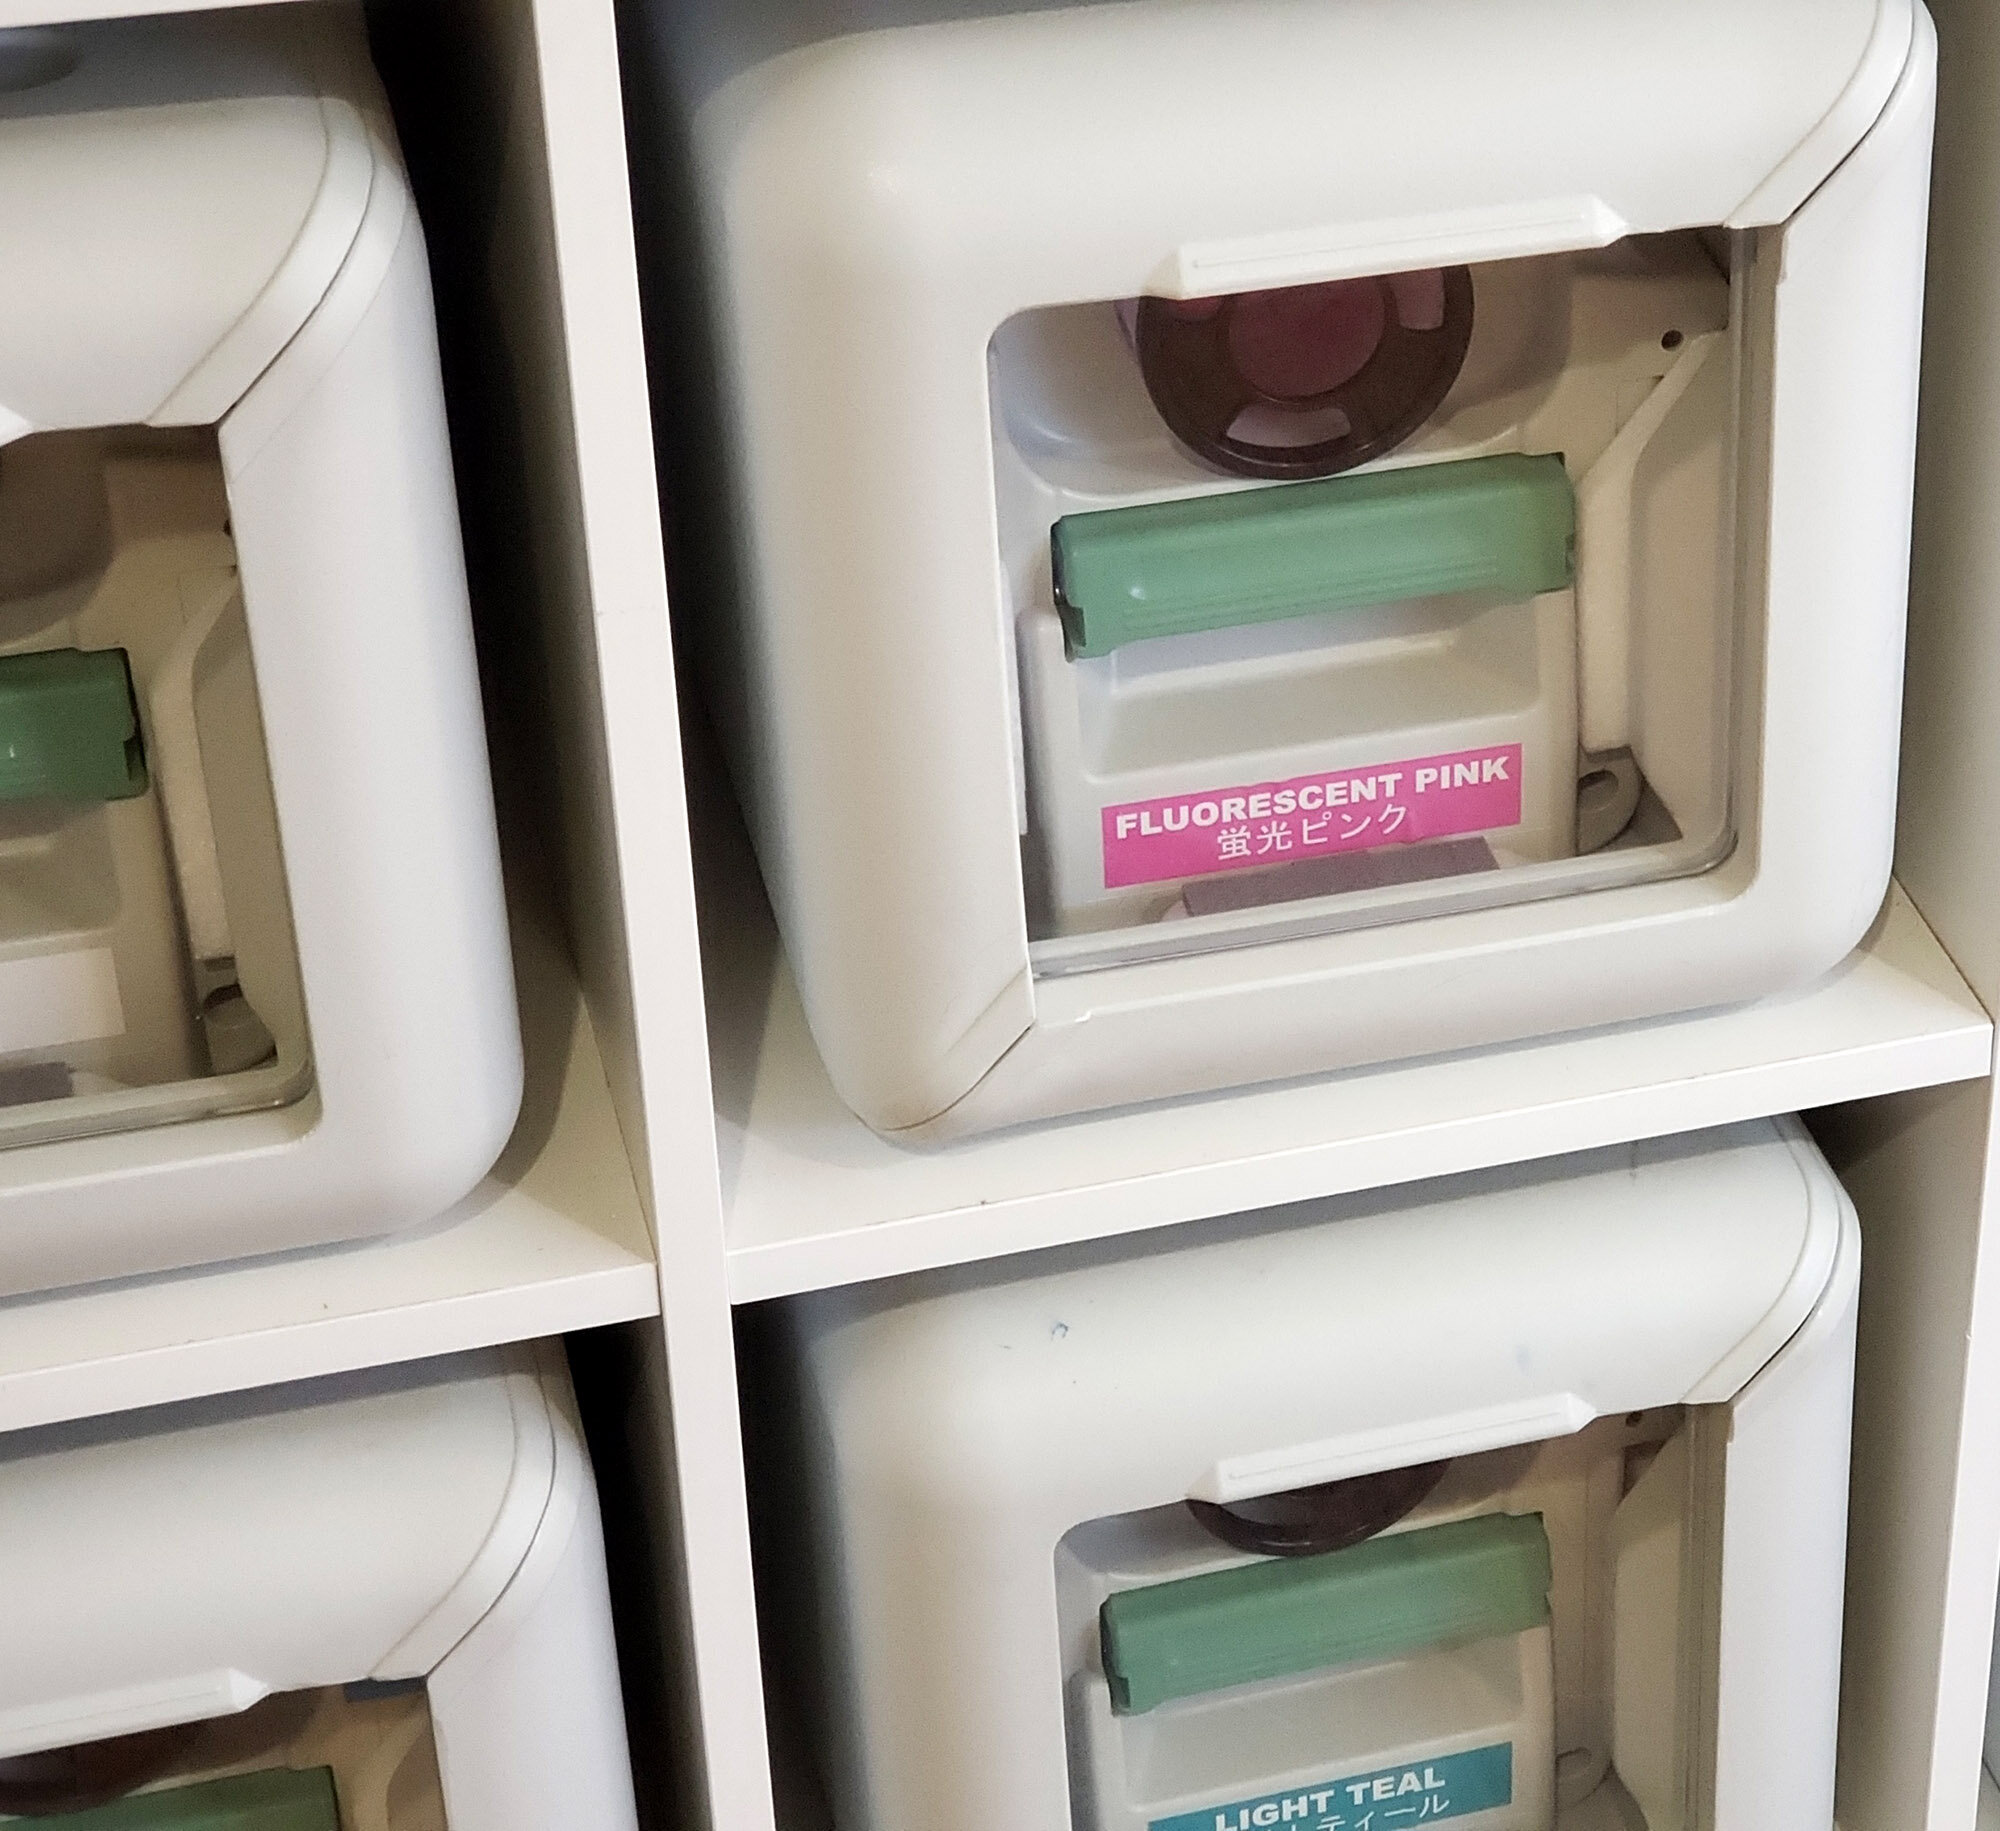
We have 21 different colors to choose from.
